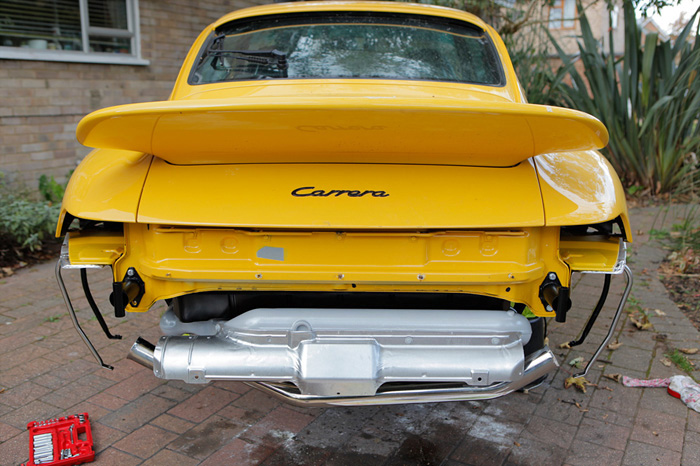
Rear cleanup
So whilst I am fitting cat bypass pipes, RS engine carriers, RS suspension and the like, it makes sense to clean a lot of stuff up, remove corrosion, repaint and blast certain bits and generallu give the car a bit of a cosmetic makeover. Some of this stuff hasn't been touched for 15 years or so. Now i'm not a endogenous neurotic so yes it will all get dirty again and no it won't bother me. The point for me is that whilst i'm down there, it males sense to clean and protect and in some cases finish or treat certain parts so that they will be better resistant to corrosion in the future.
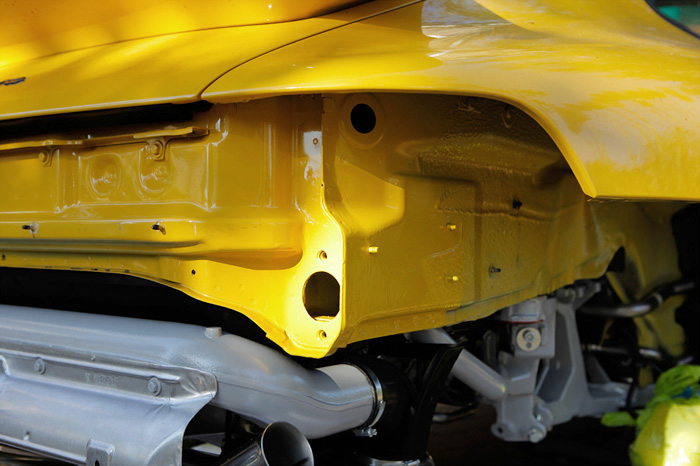
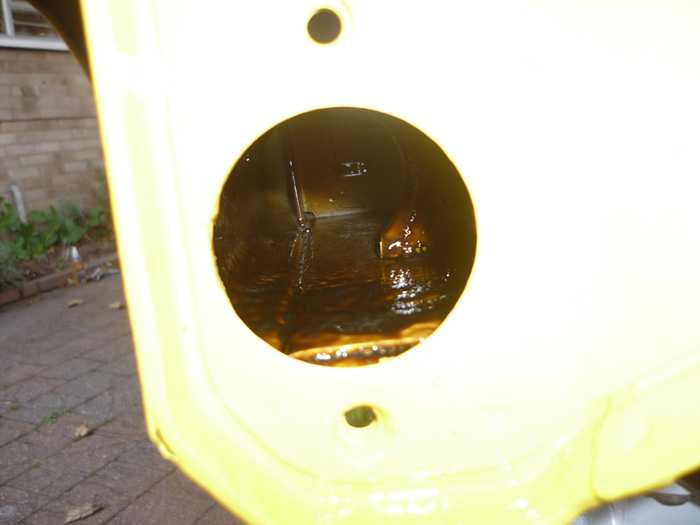
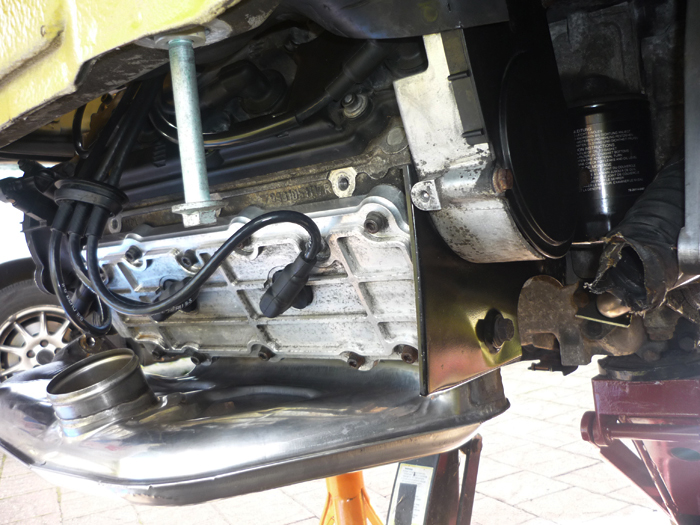
Here's job 1. 15 minutes with a line of compressed air into the cavities formed by the AC compressor bracket and the crankcase. Inside these holes was 15 years worth of gunk, twigsm sycamore leaves, firs, mud and general gubbins.
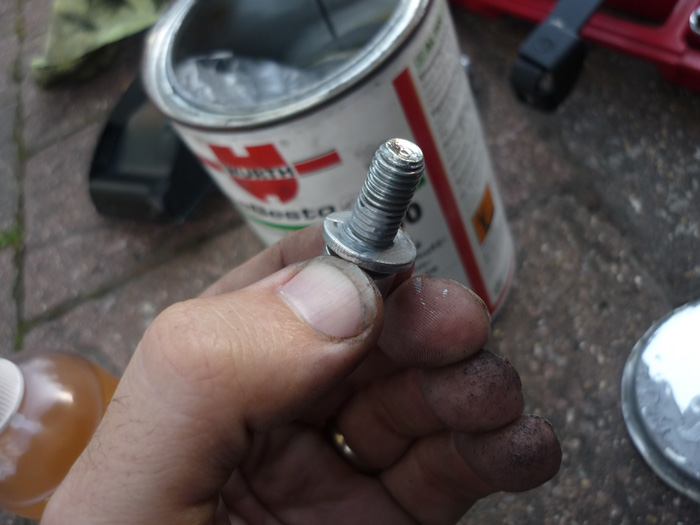
I even found a couple of screws and washers in there. Trust me, anything loose in your engine bay ends up in these crevices and its all very difficult to get out again.
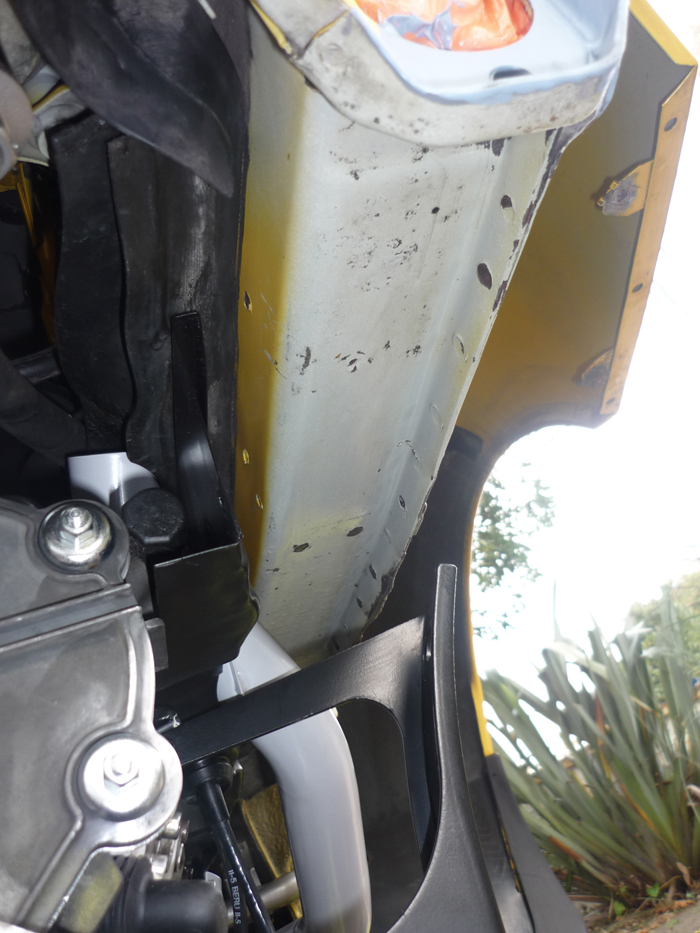
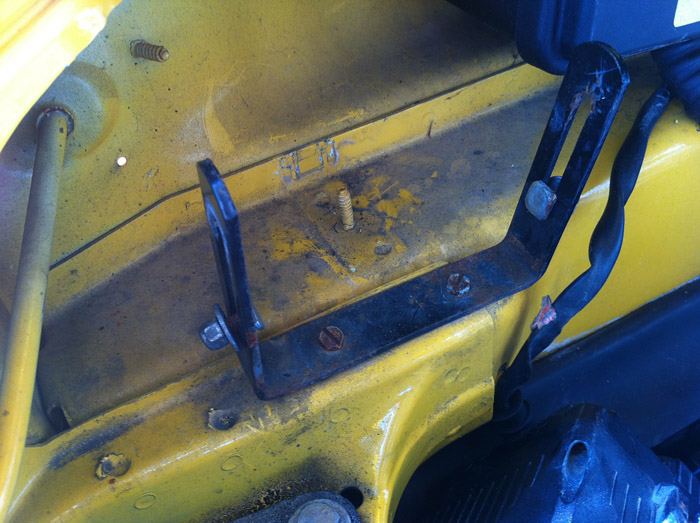
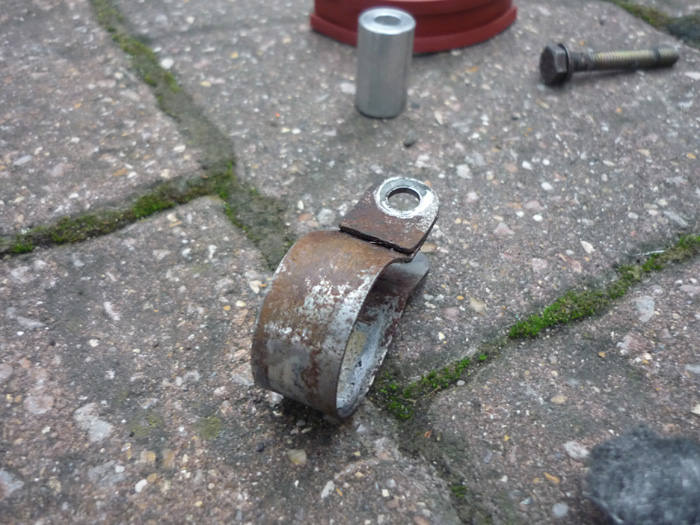
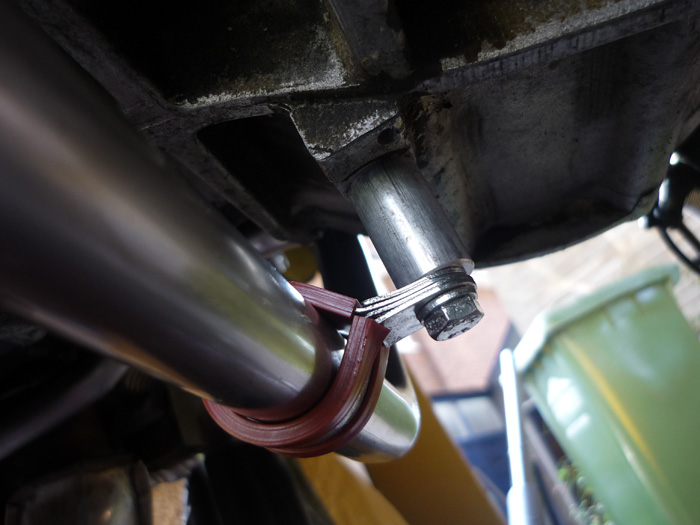
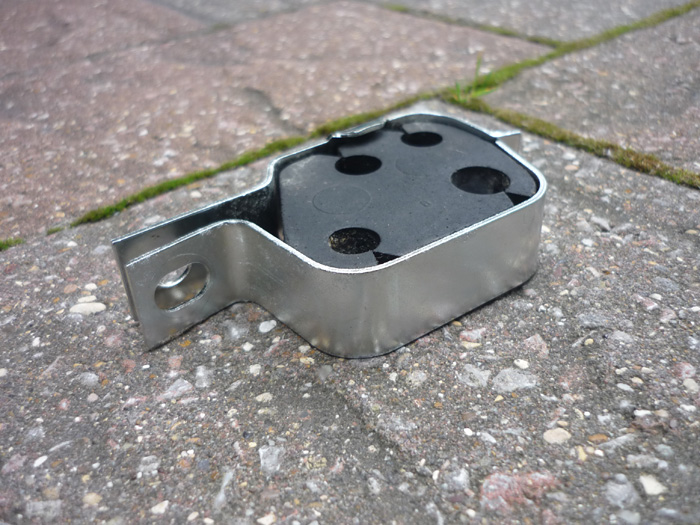
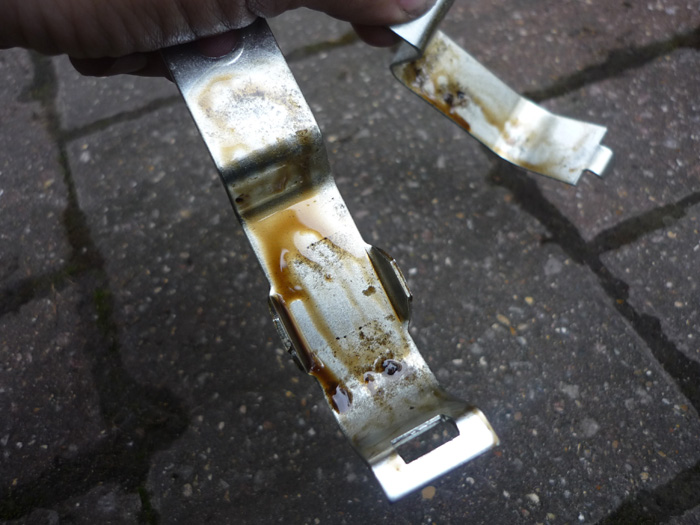
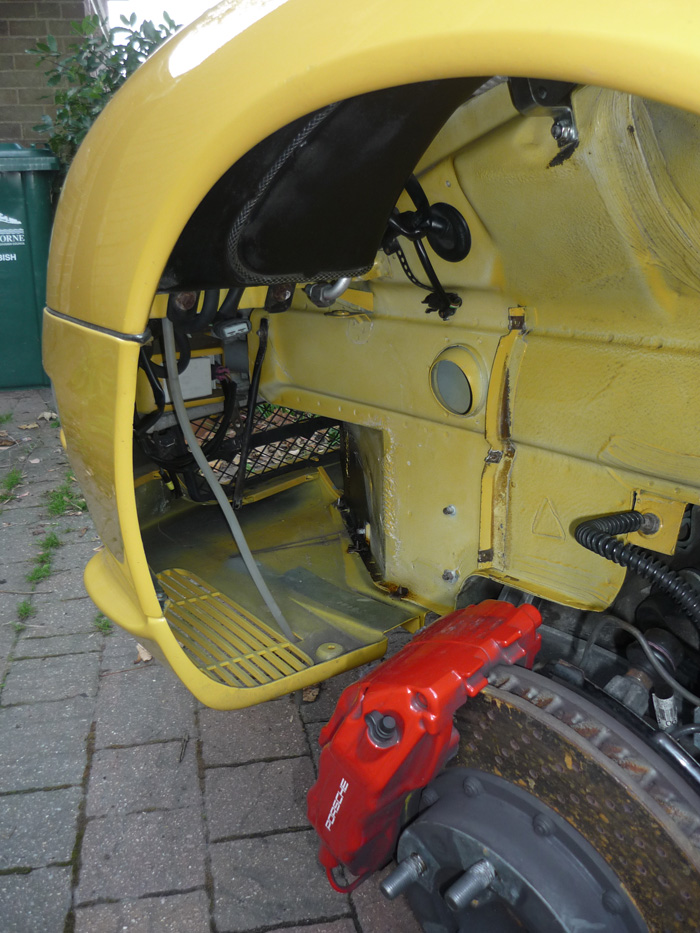
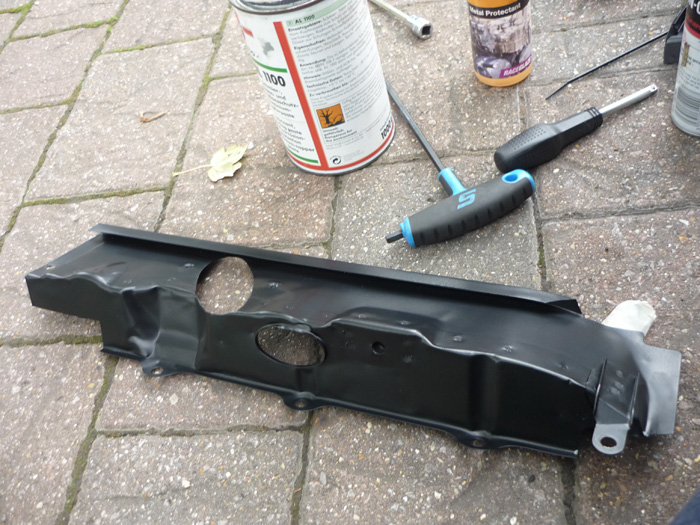
Taking a closer look at the engine bay. This U shaped bracket for the alarm has seen better days, as have the screws.
Off it comes.
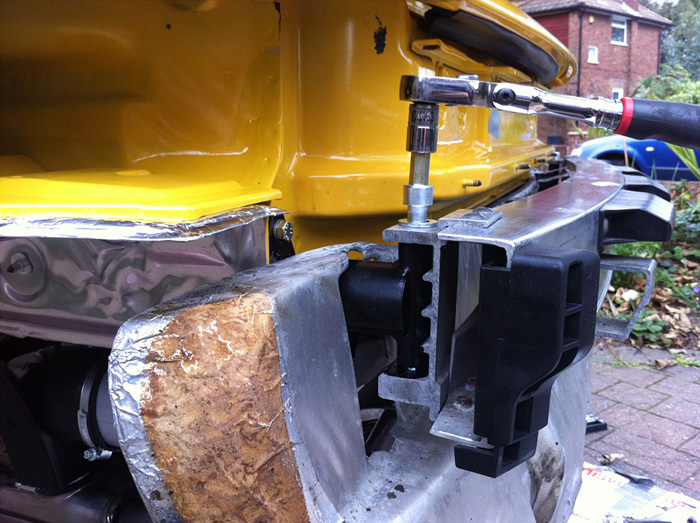
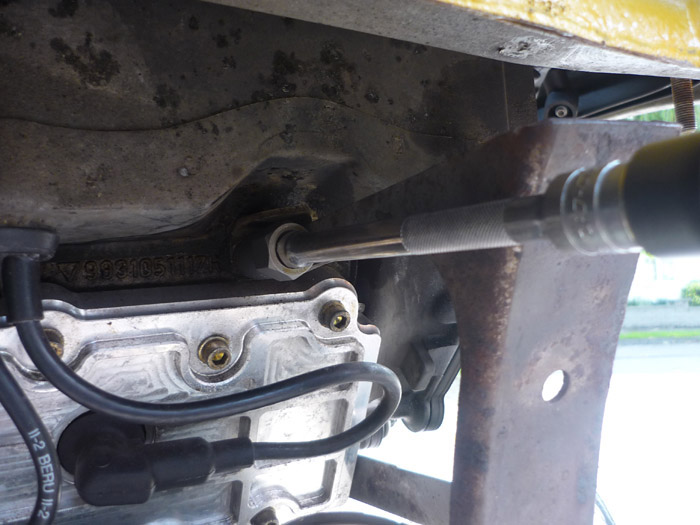
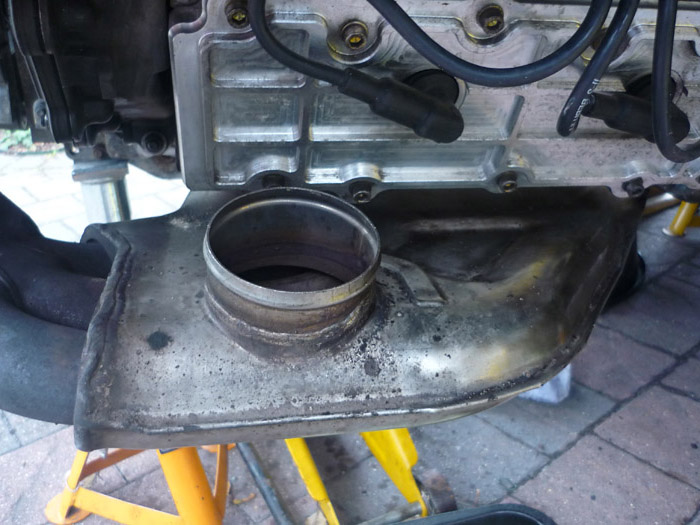
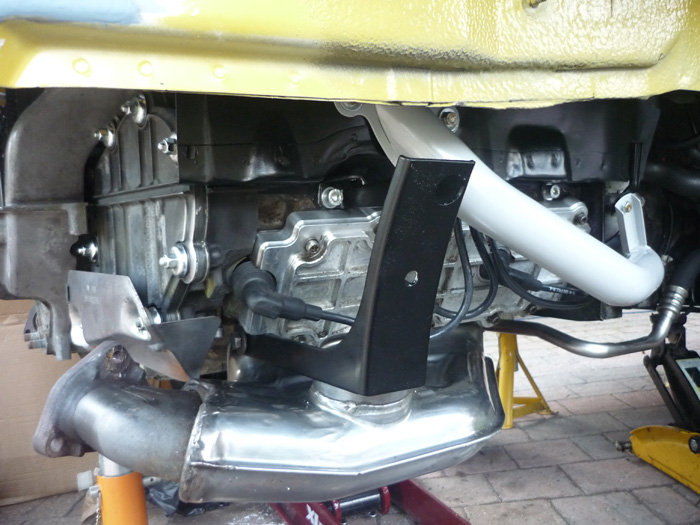
The side engine trays can come out too. Wtach those cap head screws that go into the block. I rounded the head of this one in no time. Here you can see me using a grip socket that has cutting edges on it. A bit of force and it got this off in no time. The offisde of tha car has these 3 cap heads removed for spark plug removal but on this side you don't have to ever remove the side tray so I was keen to get these 3 screws out as theyve probably not been removed in 15 years.
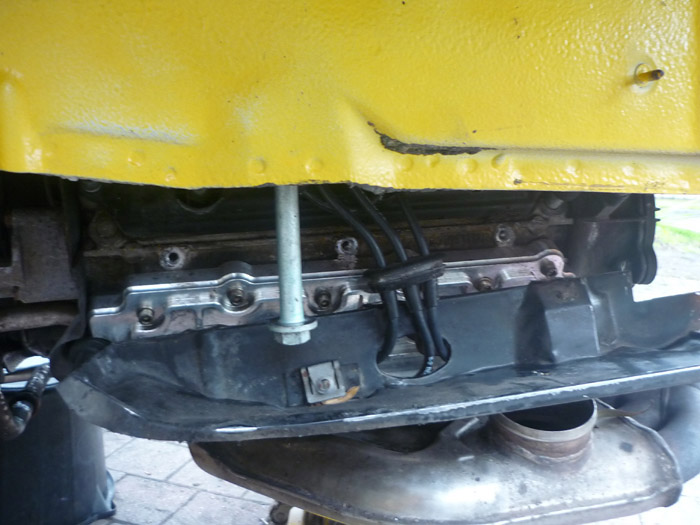
Pull the HT leads through.
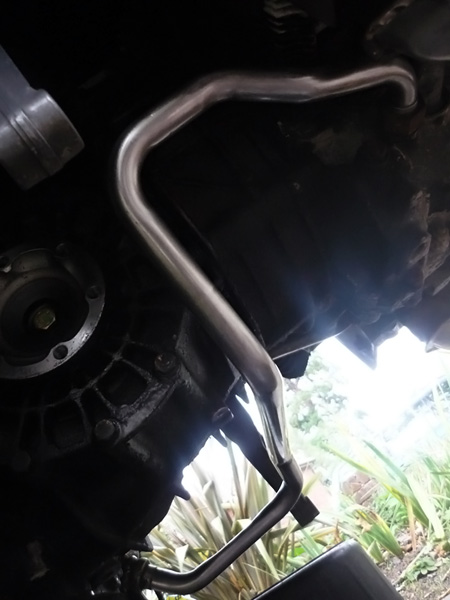
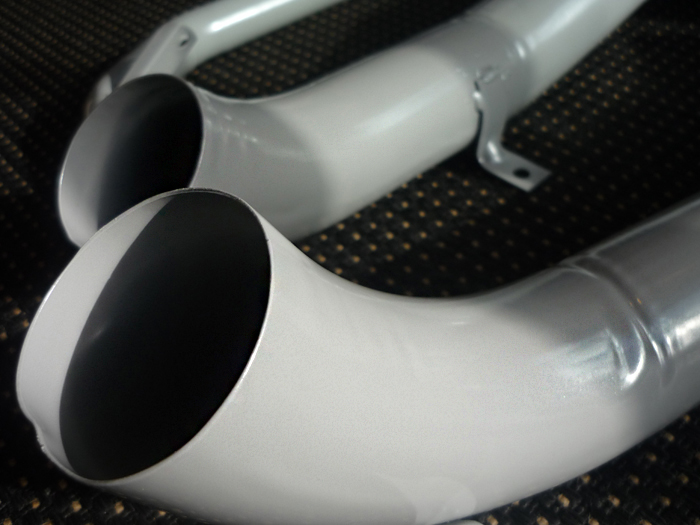
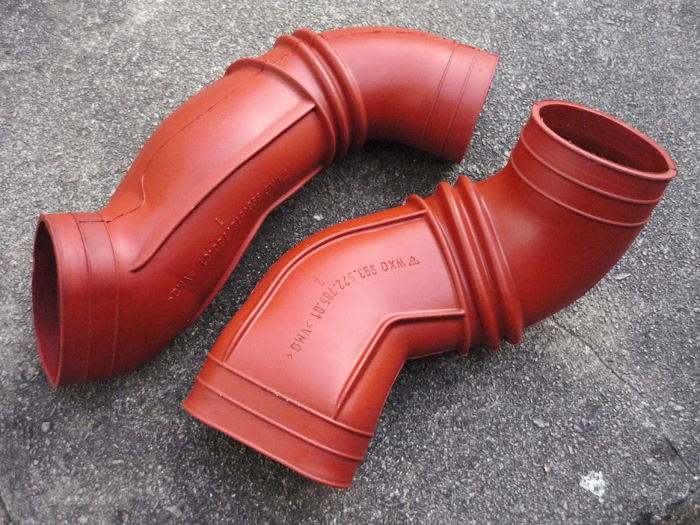
Both side trays off. The offiside clutch vent pipe can get a refurn too whilst we're at it, and those two lateral brackets that position the silencers.
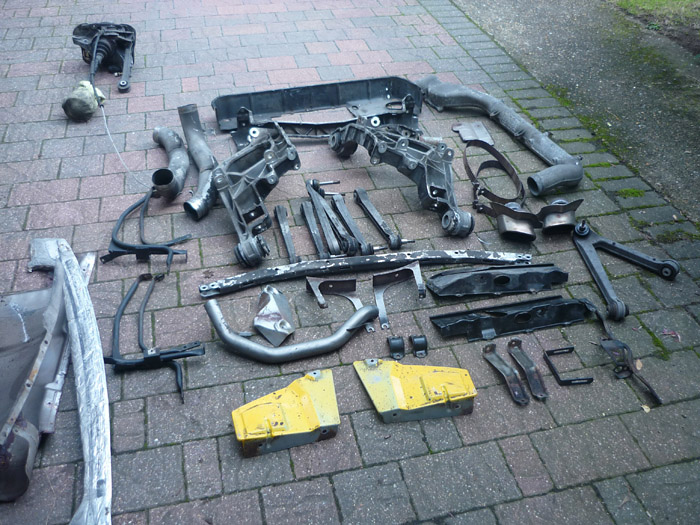
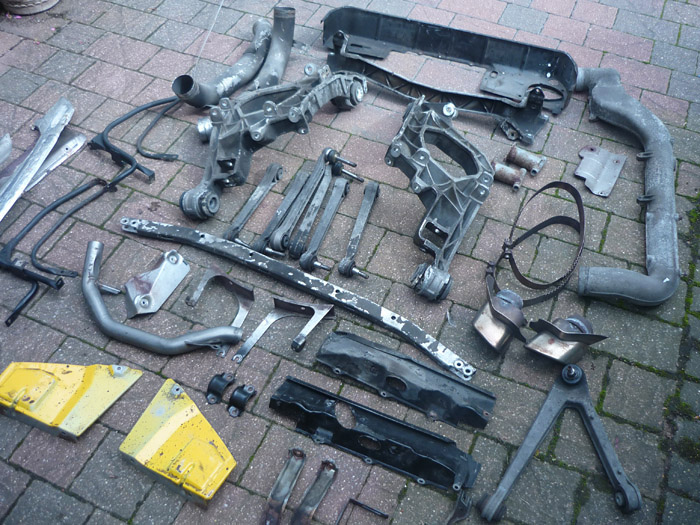
If you've missed the story then back at the homepage you can see links to my cay bypass fitting, rear suspension overhaul and chassis support corrosion projects. Its from all these that you get all the above pieces.
Off we go to the grit blasters/powder coaters. May as well make this stuff look like new or better. Anything with rubber booted ball joints can't get powder coated so it will get grit blasted then laquered to stop further alloy corrosion. I will also be doing a grit blast test on a heatshield to see how that comes up.
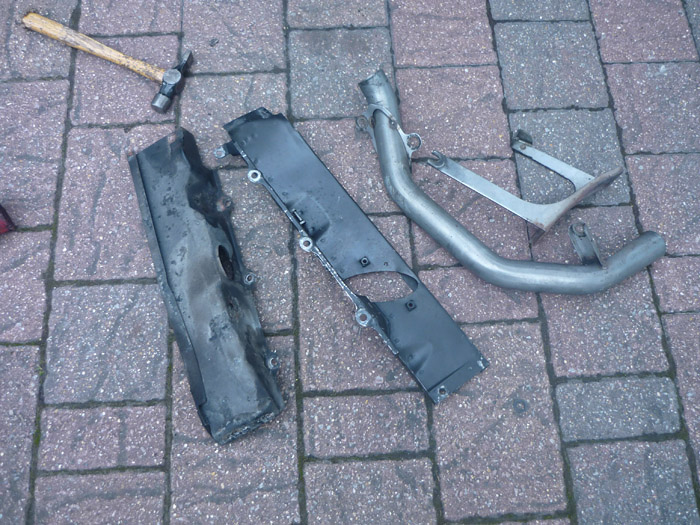
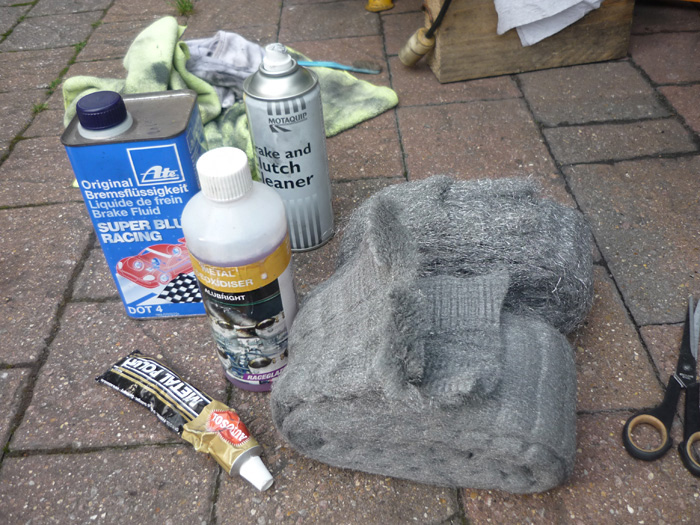
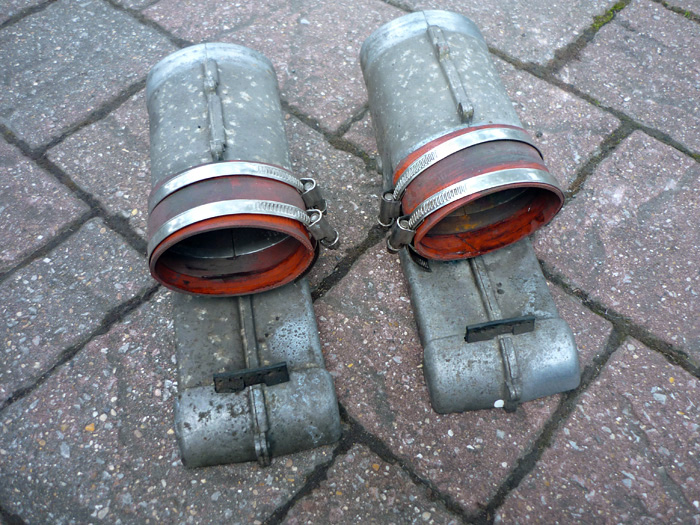
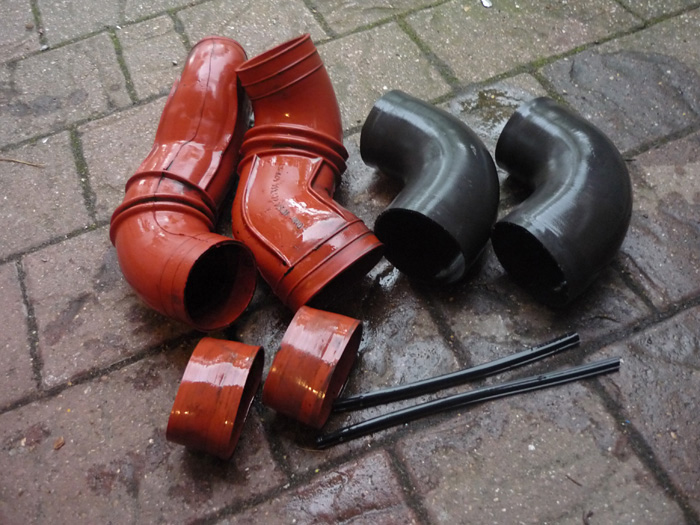
Now onto those heat exchangers.
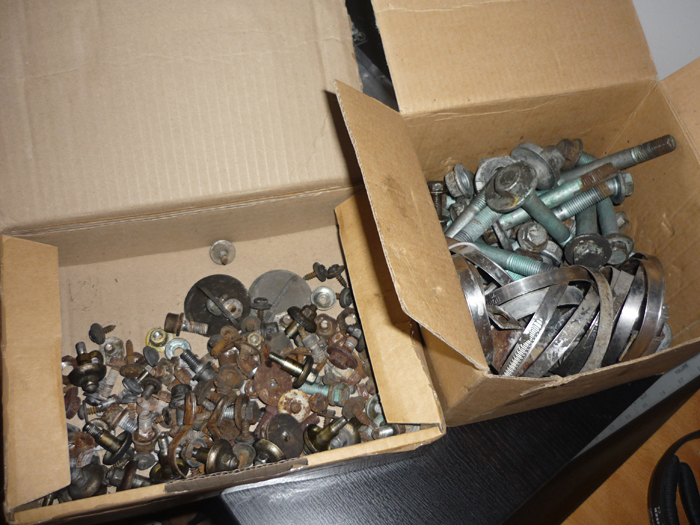
Everything you need.
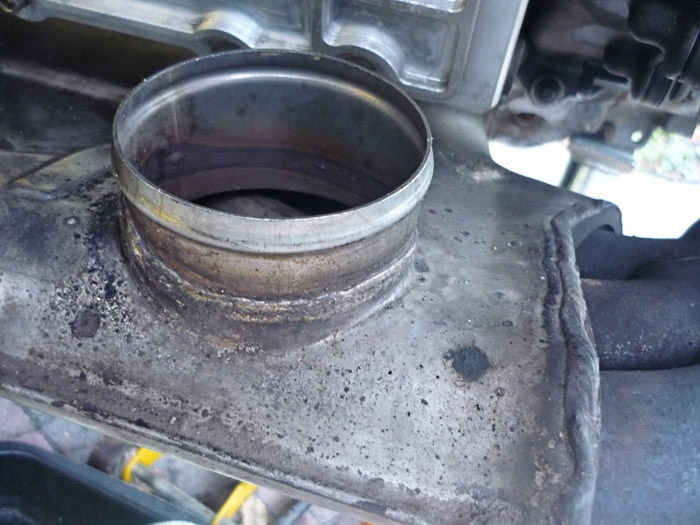
At the beginning.
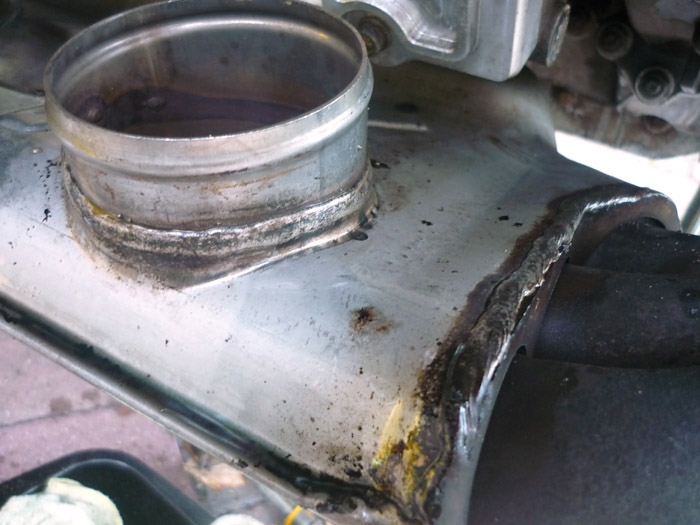
After a clean with some brake fluid. (i used Autosmart tardis first but brake fluid was way stronger).
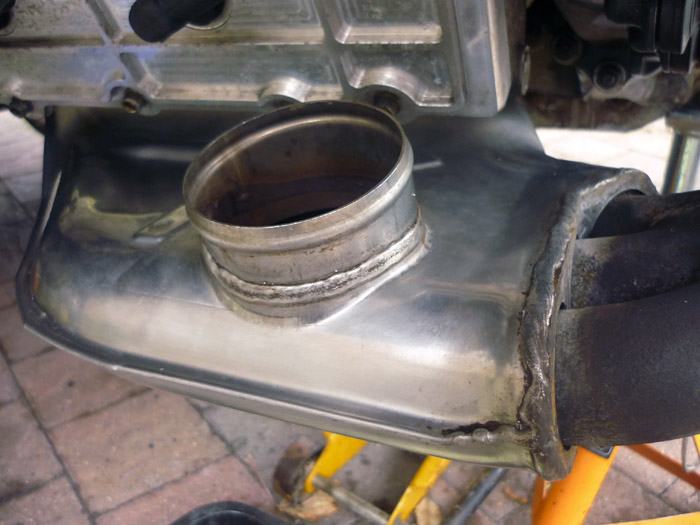
After a coating of Alubright.
Wire wool and Autosol.
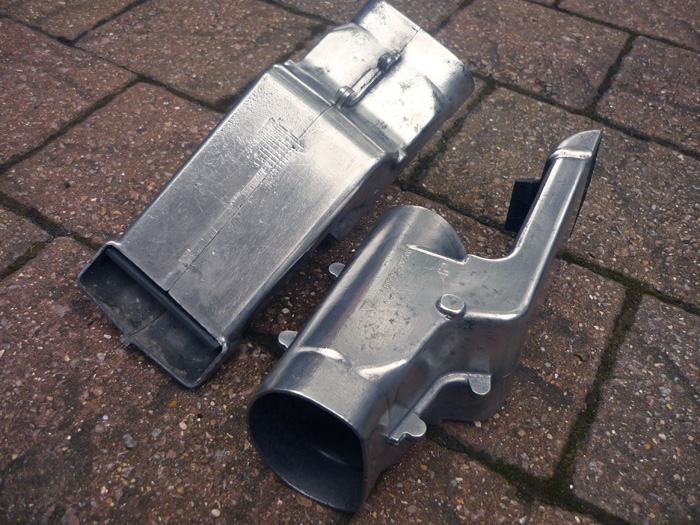
Now onto the heater flaps.
Wire wool, lots of elbow grease and some autosol. Shiny but still with a nice aged patina.
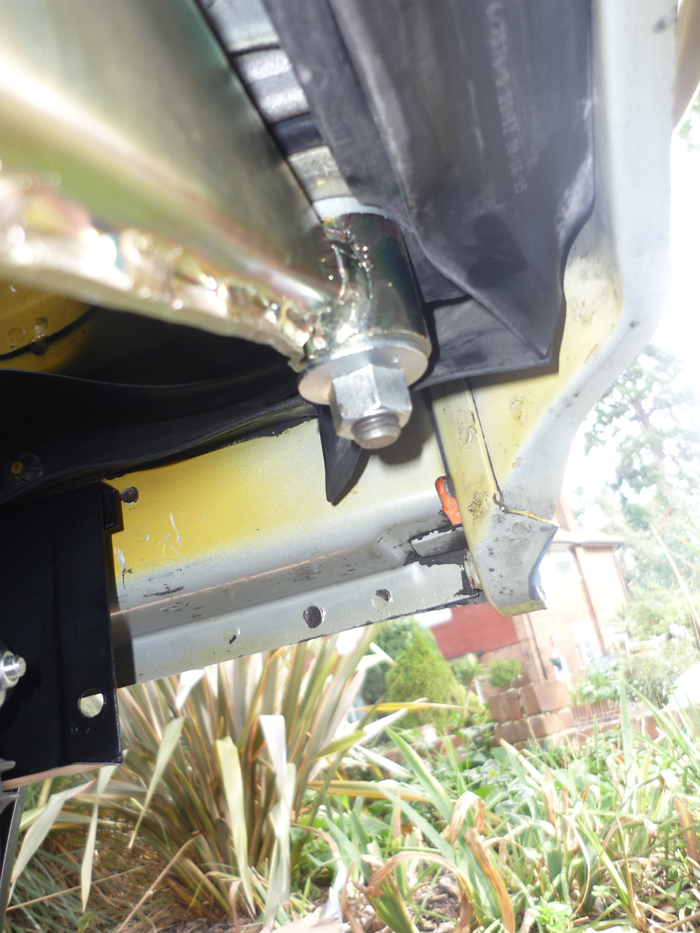
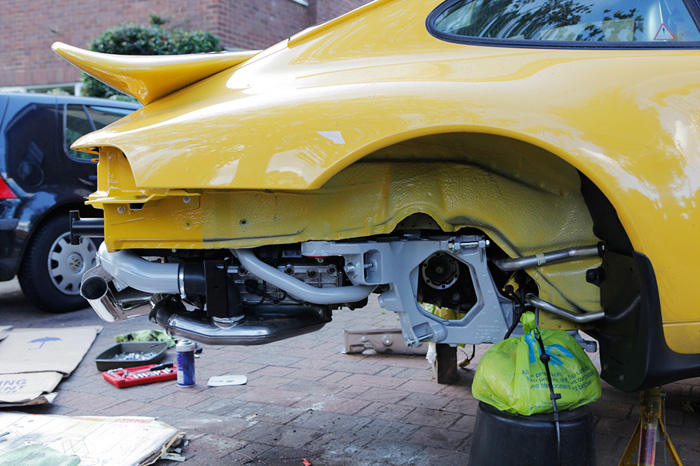
Looking underneath now.
One oil pipe bracket off ... ready for the electroplaters.
Nice and clean now.
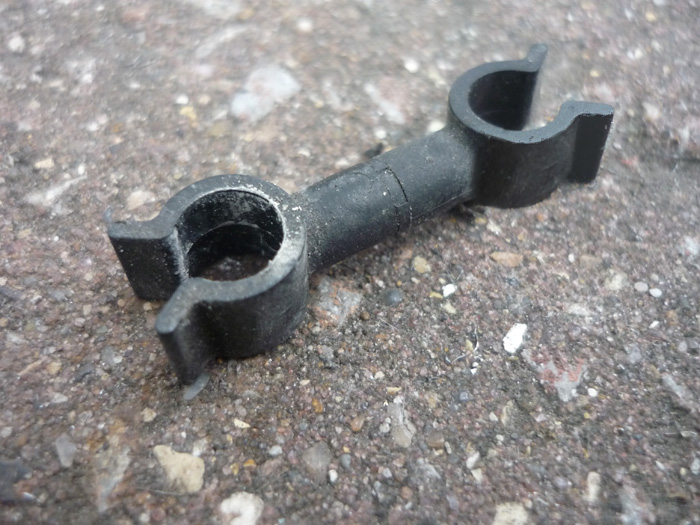
Sundry plastic clips and brackets.
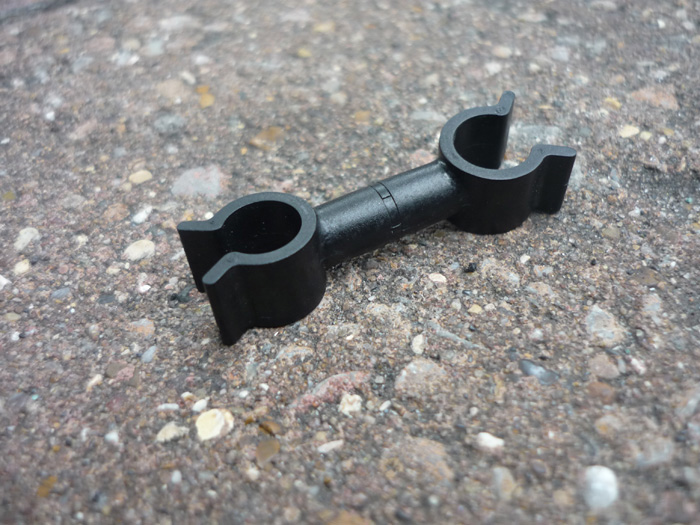
Cleaned.
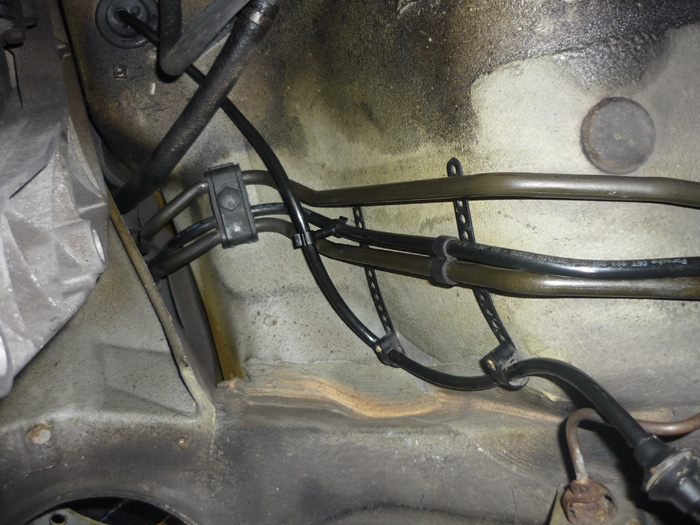
This one is a small spacer that keeps theabs lead away from the fuel lines.
Starting to look better. All black lines, pipes, plastic clips, ht leads and plastic surfaces rubbed with Aerospace 303.
Heater flexi pipes scrubbed in soapy water.
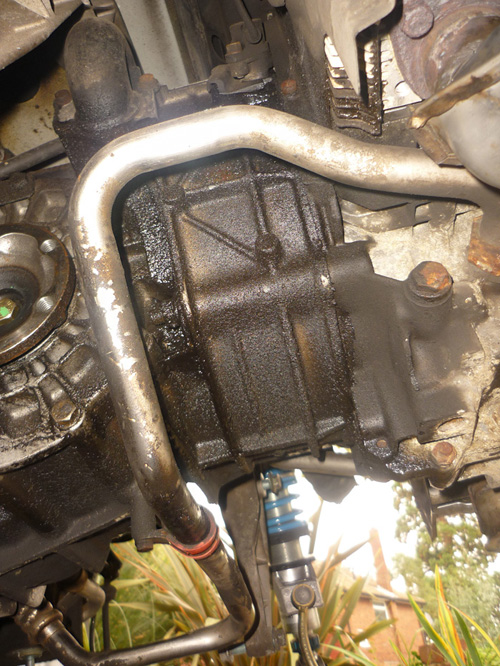
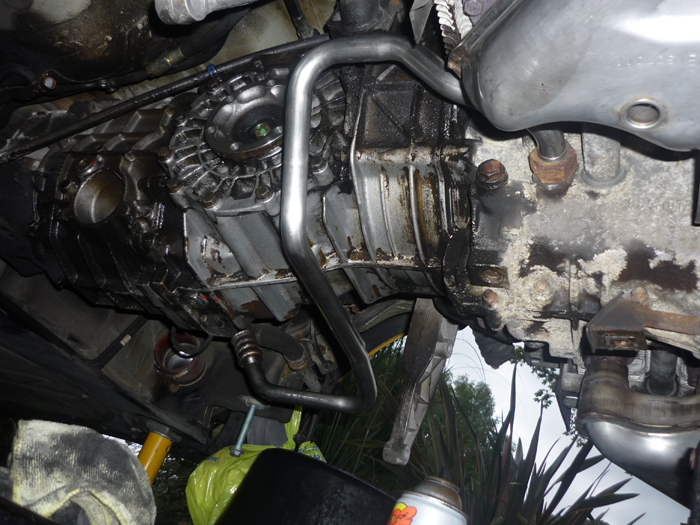
making a start on the gearbox degrease.
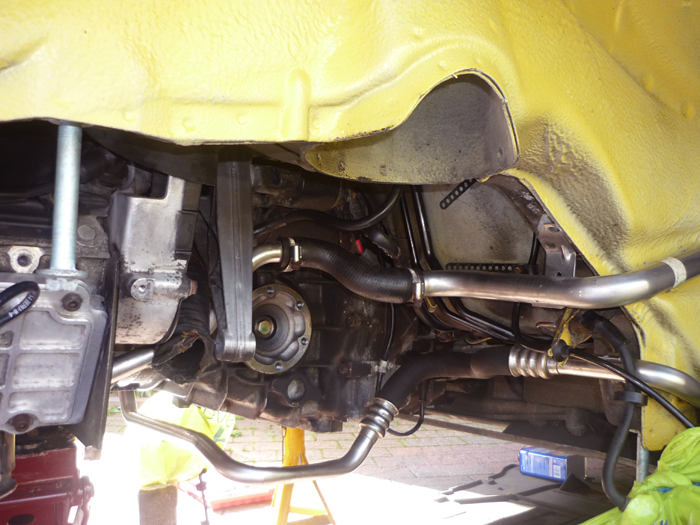
The offside starting to look better. Pipes wire wooled and all black rubber and plastic 303'd.
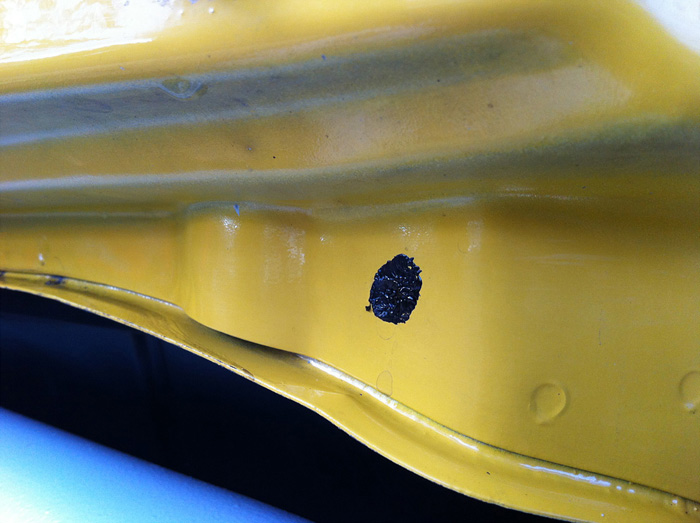
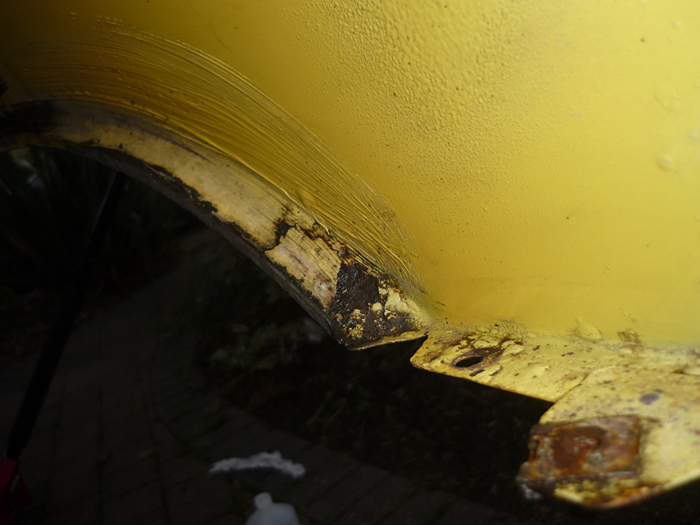
A small amount of rust found in the offside wing.
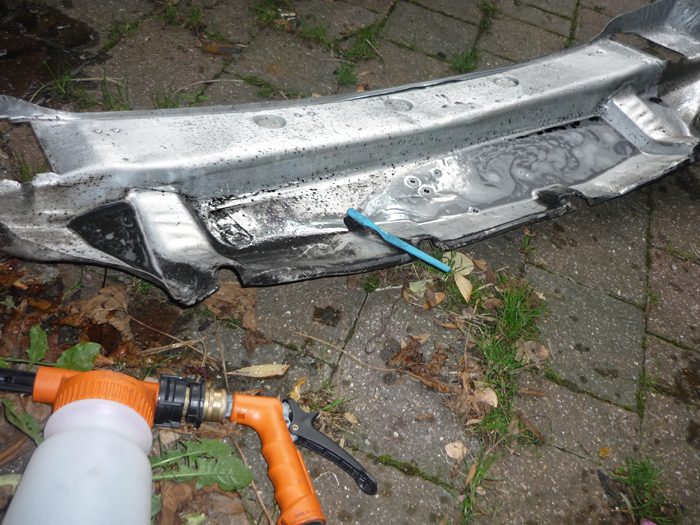
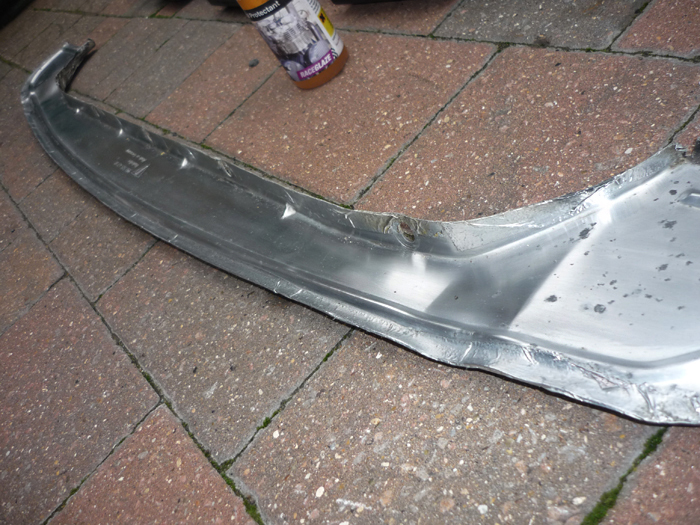
Wire wool on the bumper.
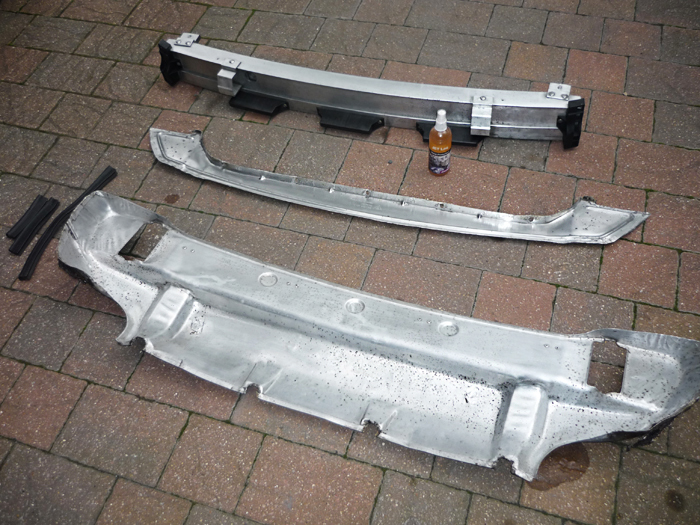
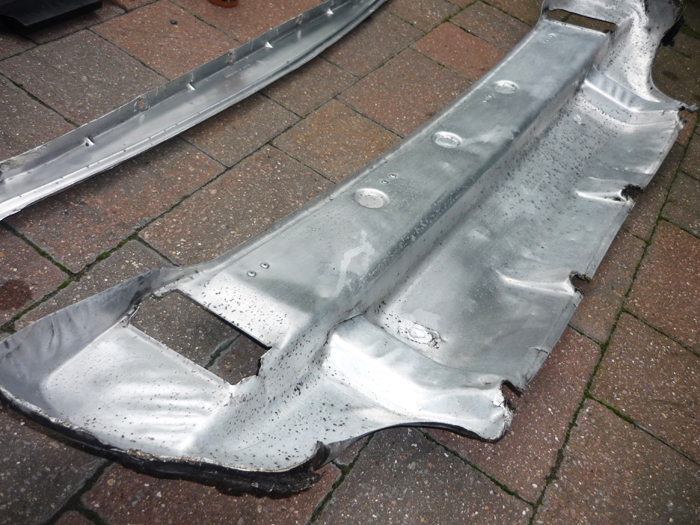
Alubright on the main heatshields and lots of scrubbing. These things cost so much that its worth trying to refurb whatever you can.
LOTS of money saved here. The main rear bumper shield alone is around £200 from memory.
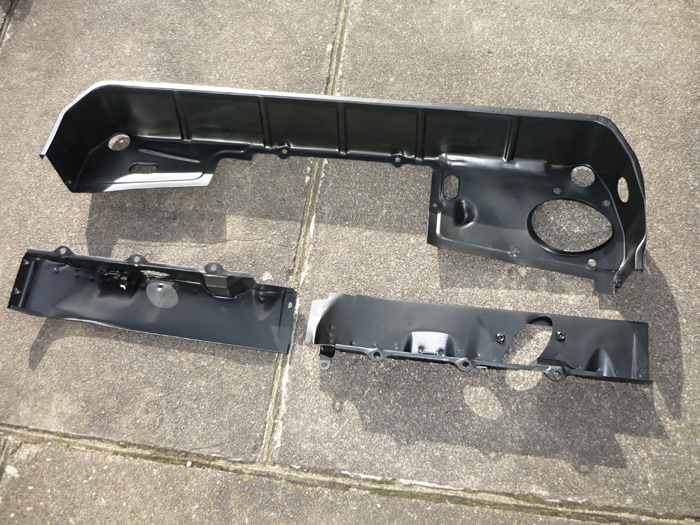
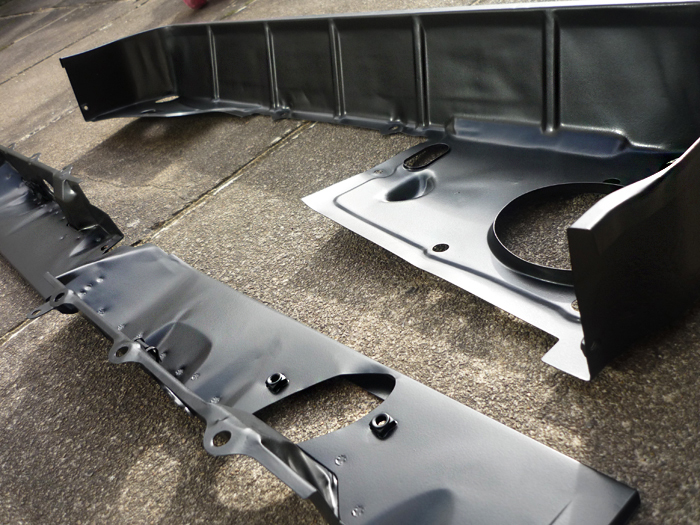
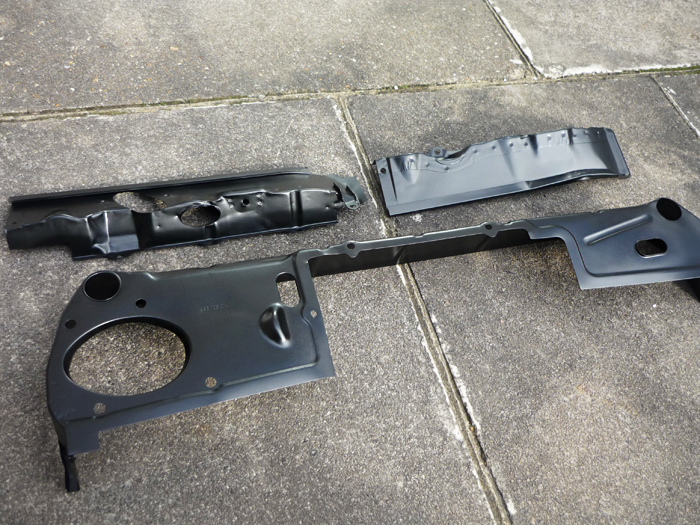
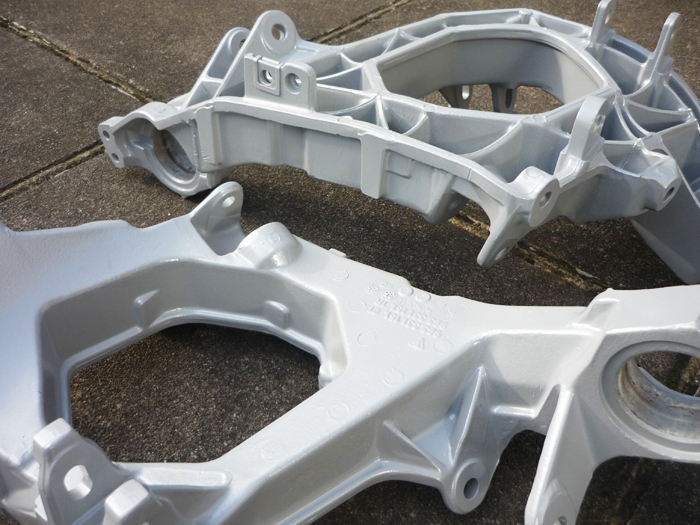
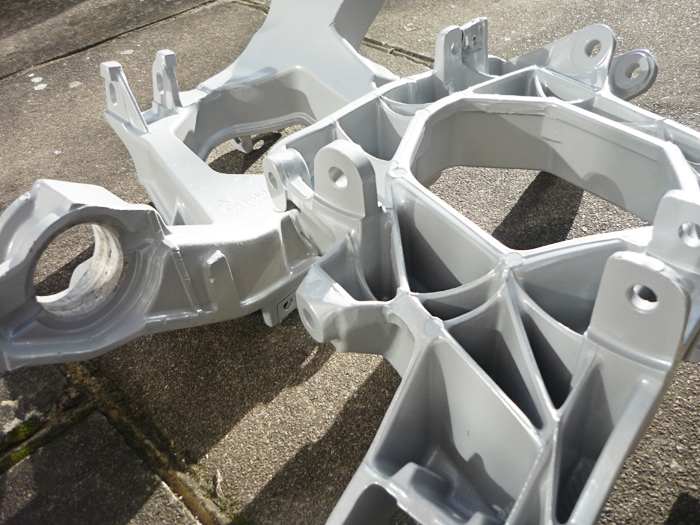
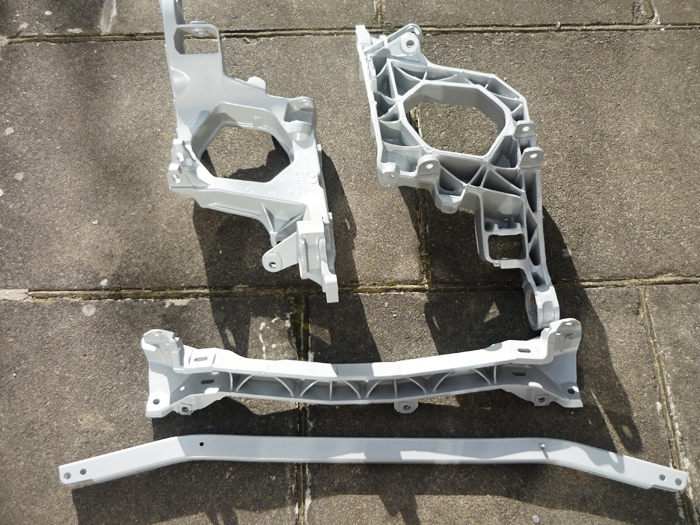
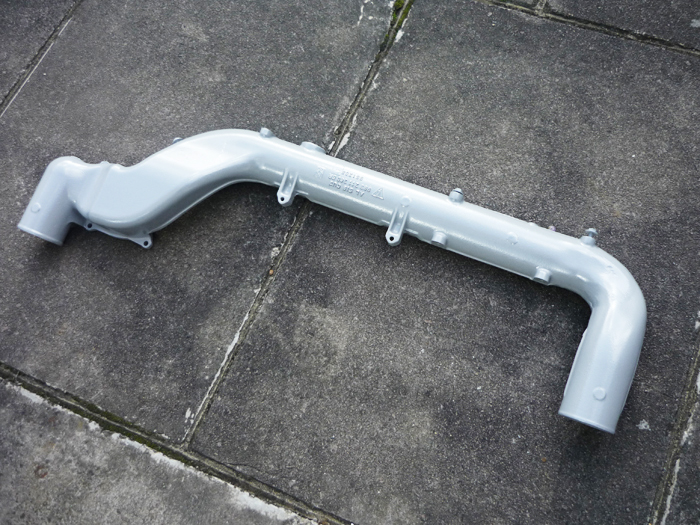
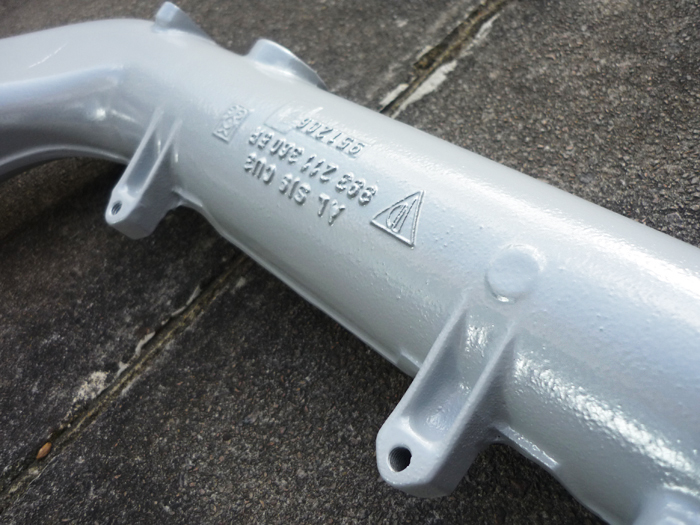
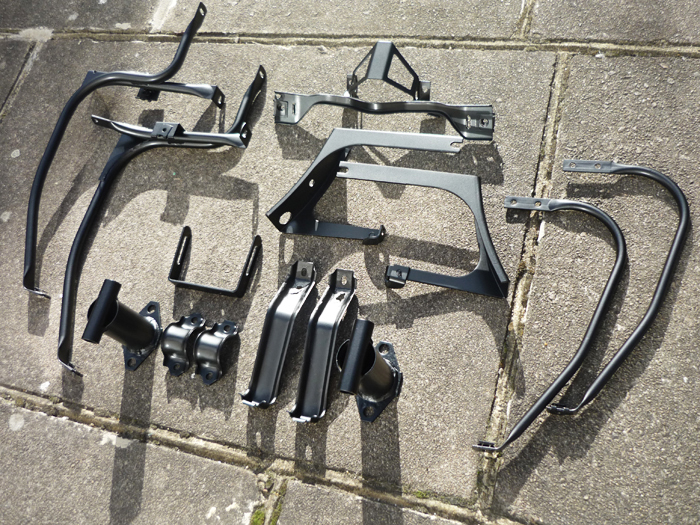
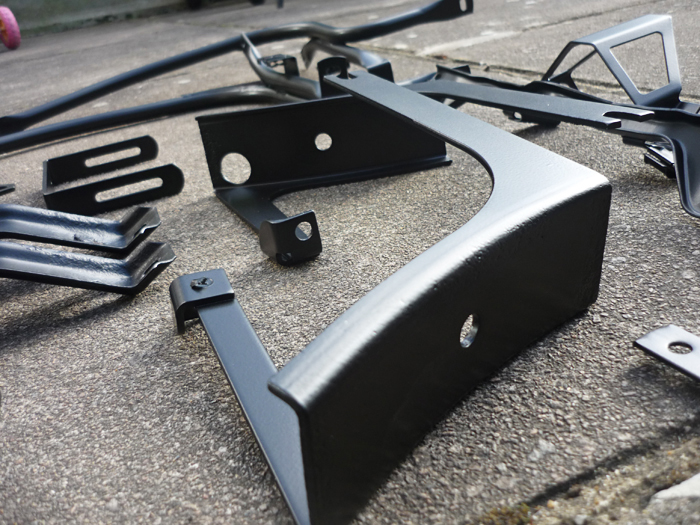
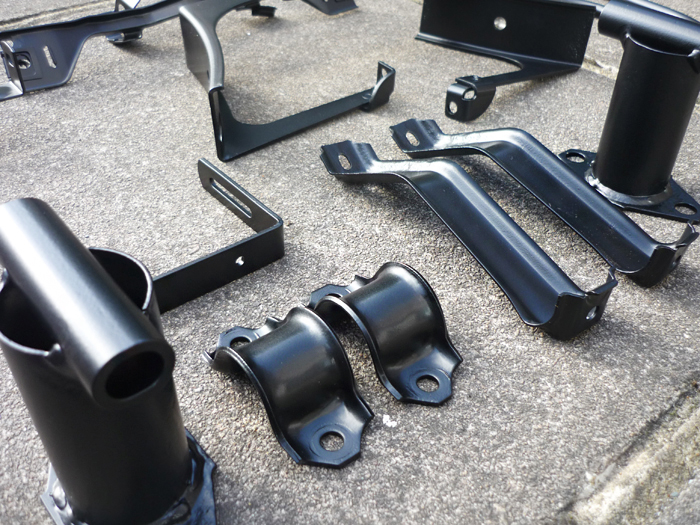
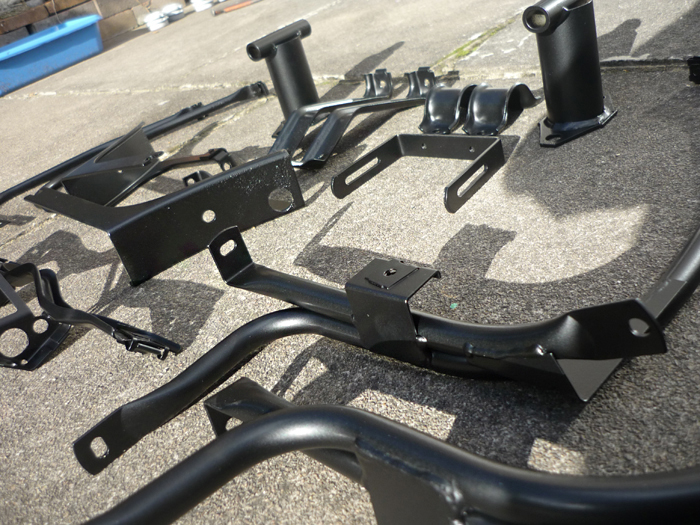
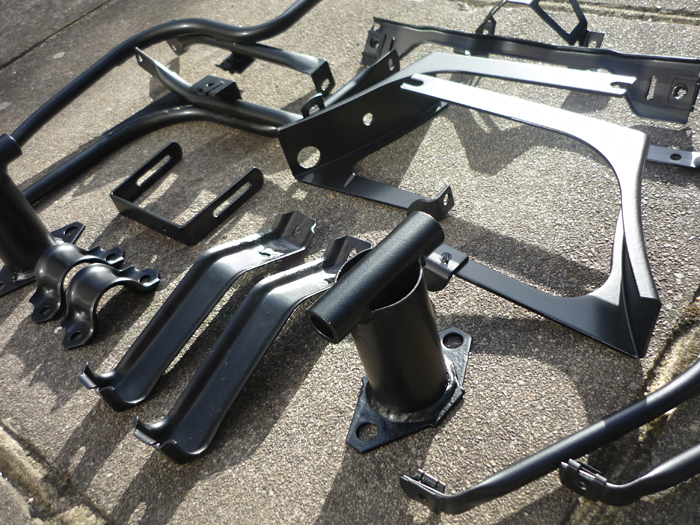
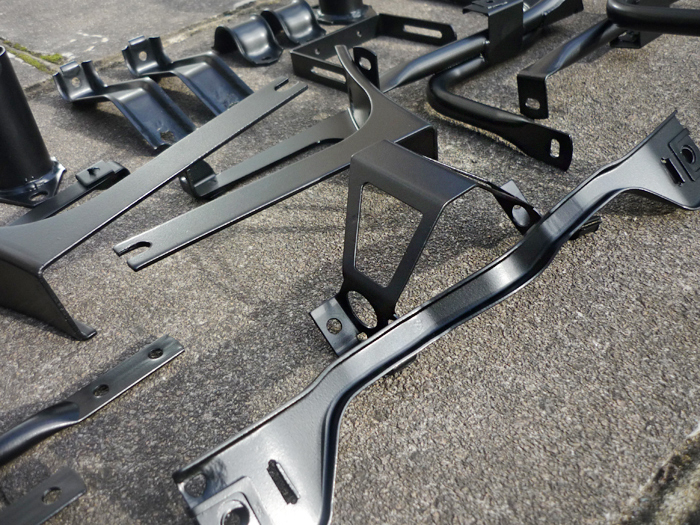
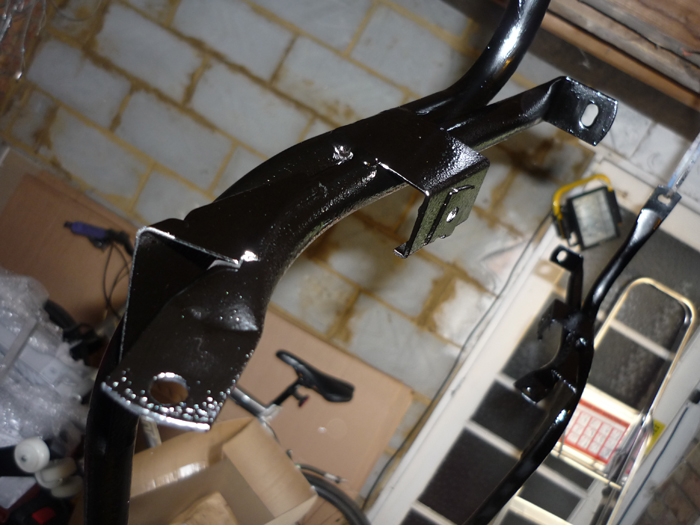
Now back from the powder coaters:
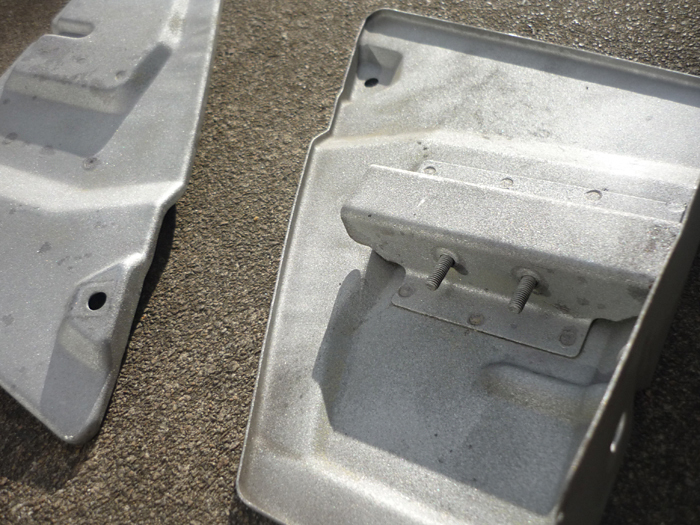
Engine trays. Lovely !
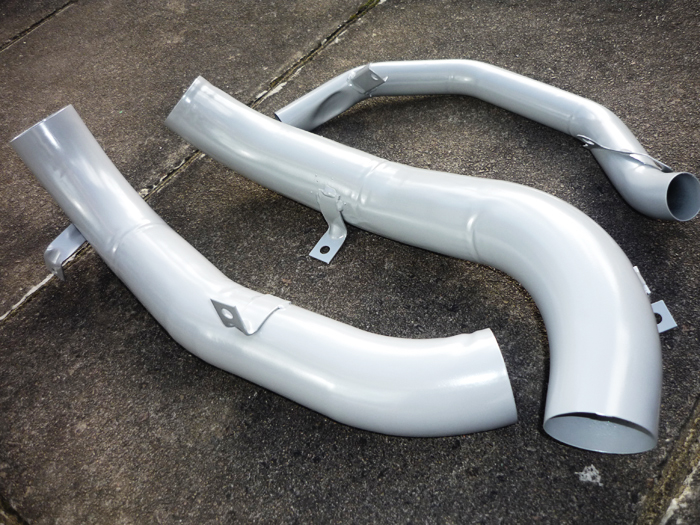
Heater pipes.
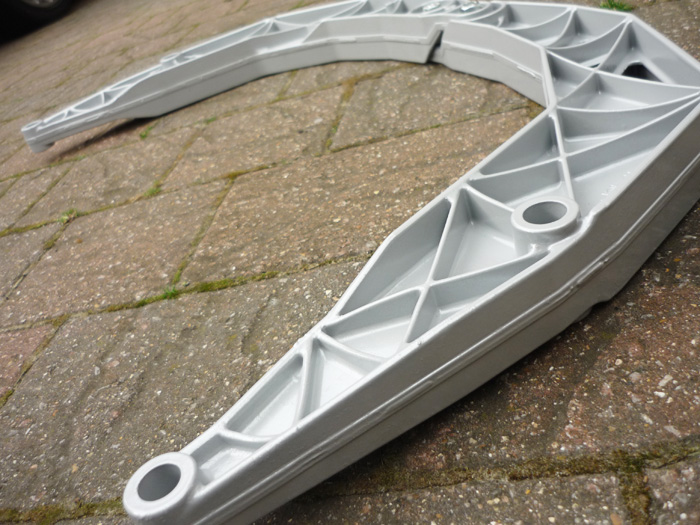
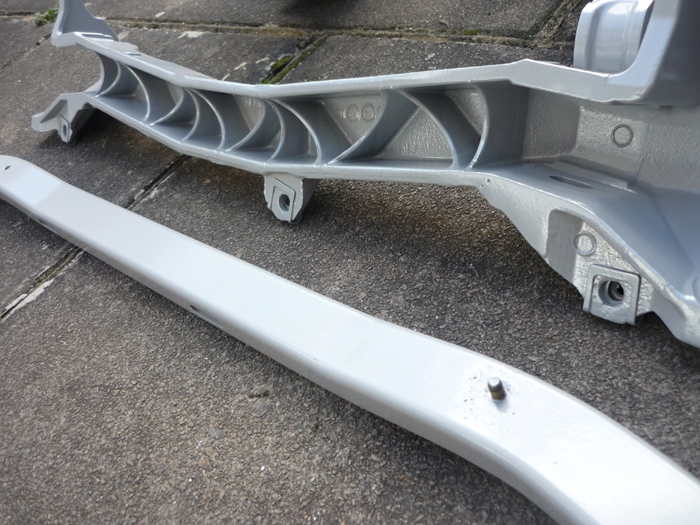
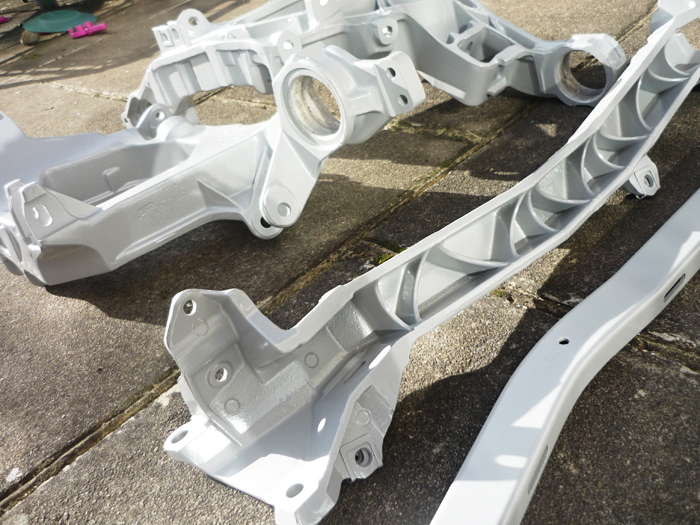
Rear suspension side arms and cross members.
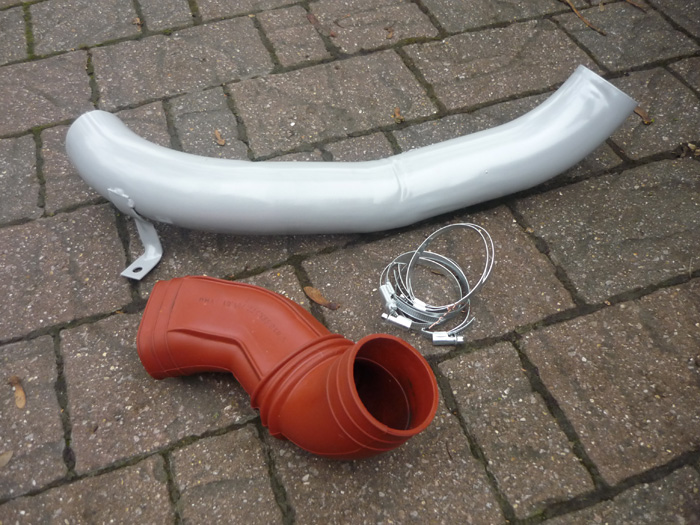
Heater tube.
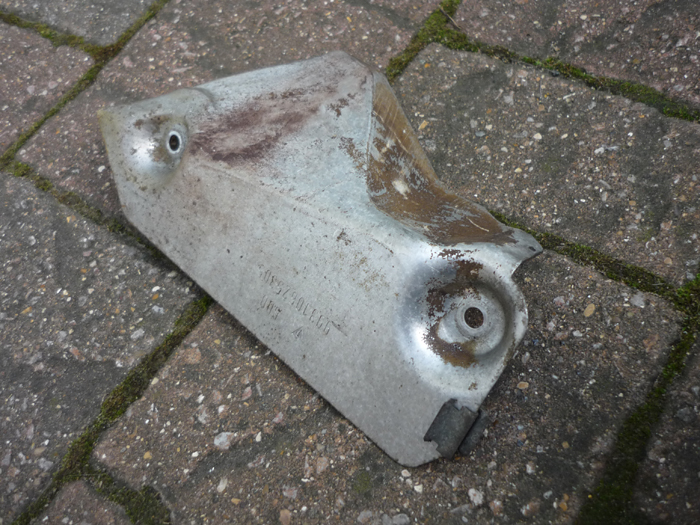
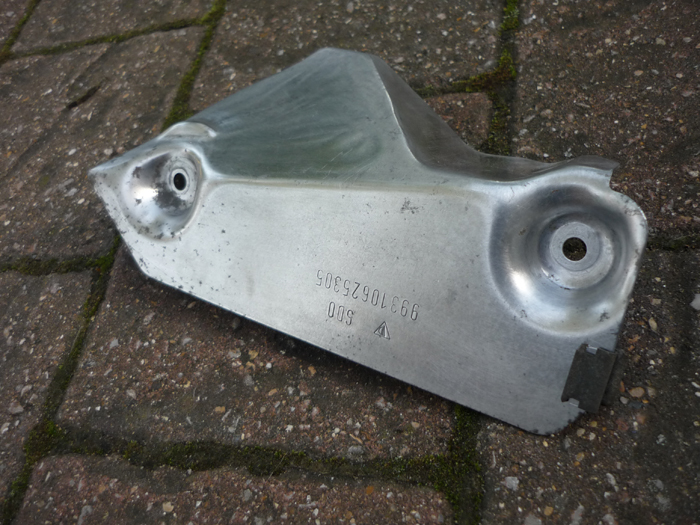
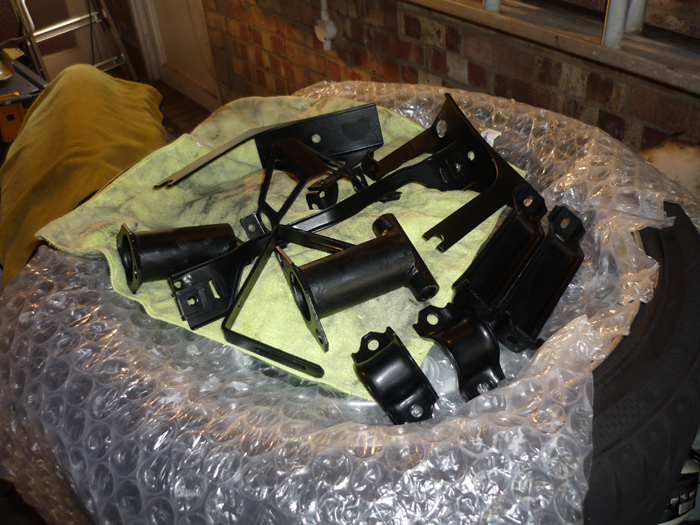
Bumper support brackets, rear ARB brackets, rear bumper absorbers, alarm bracket, silencer brackets, O2 bracket
The rear chassis supports just grit blasted and ready for painting.
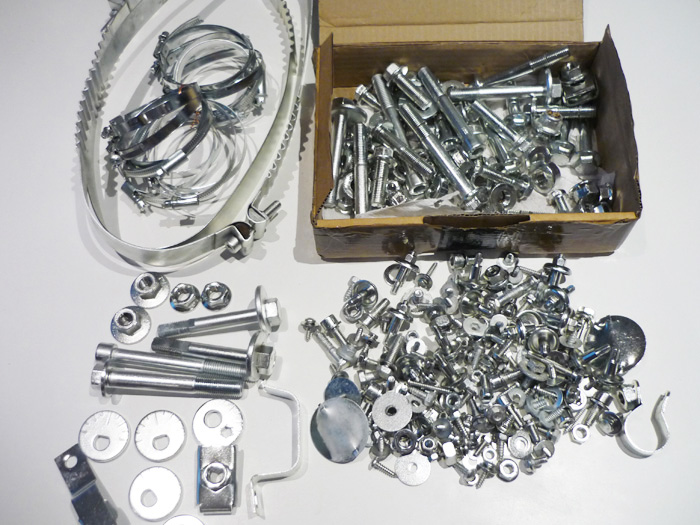
A ton of stuff off to the electrplaters for zinc plating.
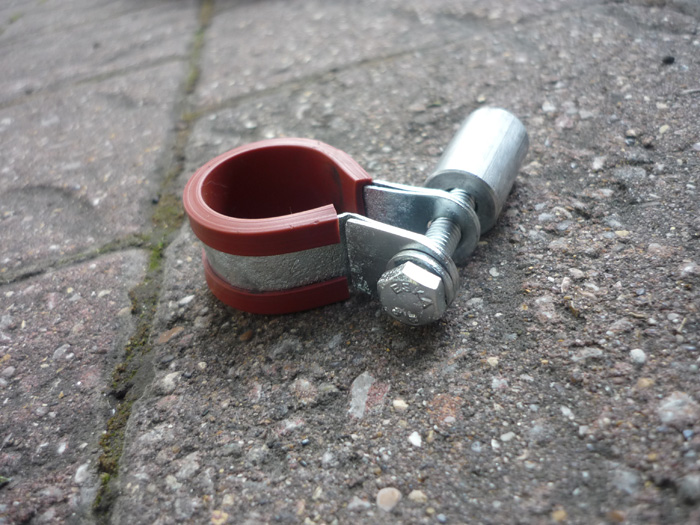
And as if by magic ! Good value at £50
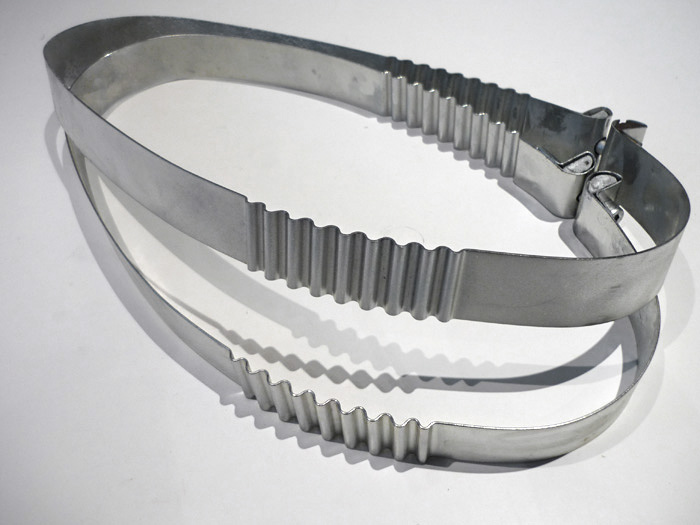
Especially as it included the silencer straps.
Offside chain box heatshield wire wooled.
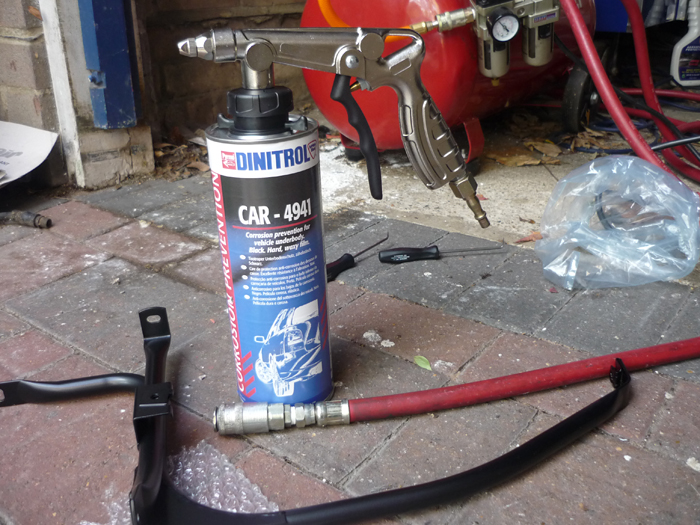
Bumper support brackets given a thick coating of Dinitrol 4941 which is a waxy rusty resistant coating.
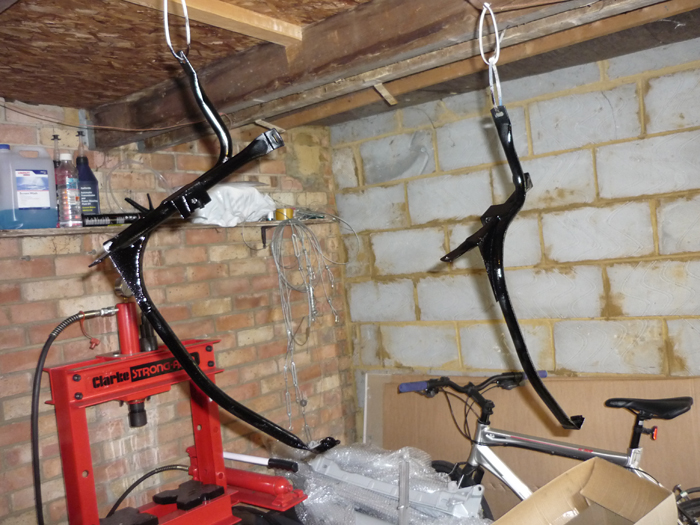
All the black powder coated bits given a layer of FK1000p wax so the water beads and runs off.
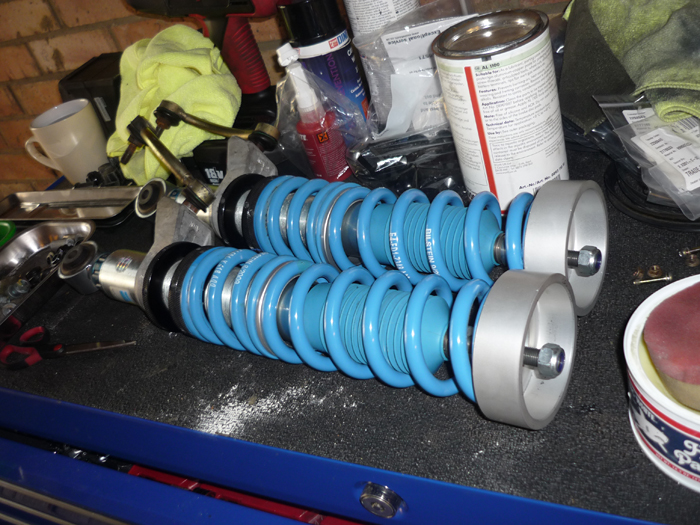
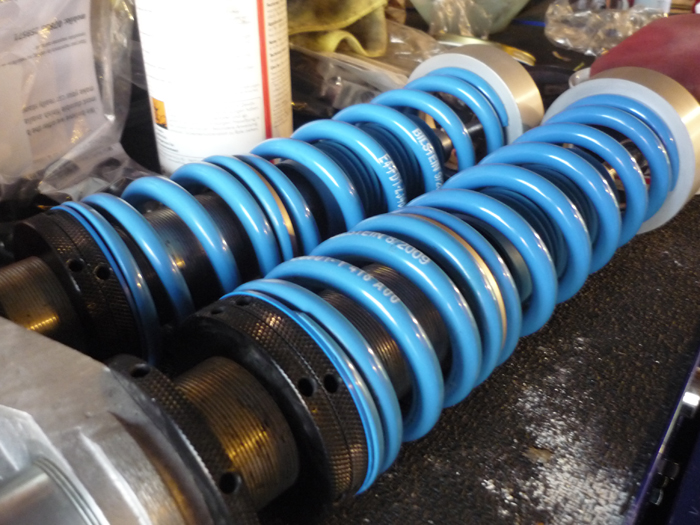
Ditto the bilsteins.
Lots of degreasing and scrubbing to get this to this stage.
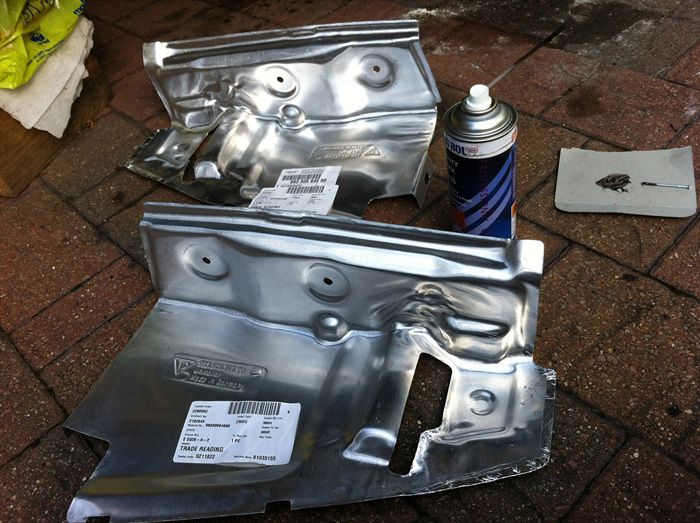
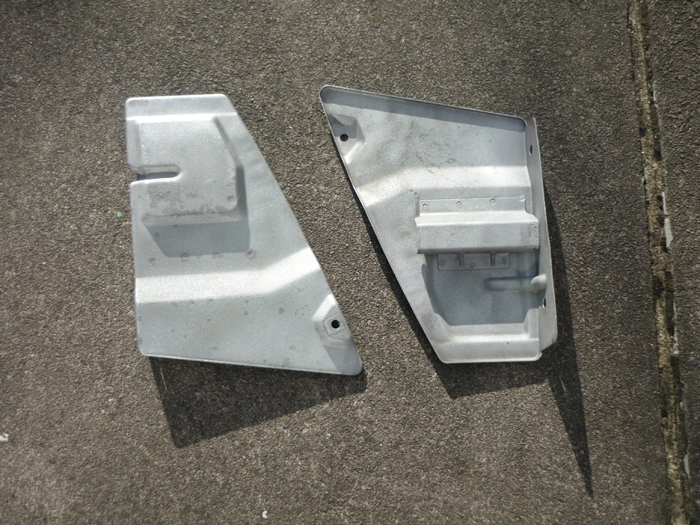
The one set of heatshields that I decided to buy. These are the ones that sit under the rear side supports.
BINGO !
Back in place.
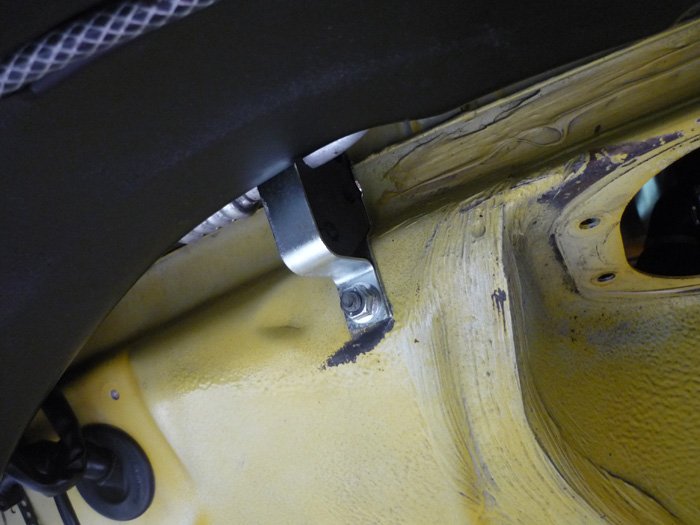
Front Ac line bracket.
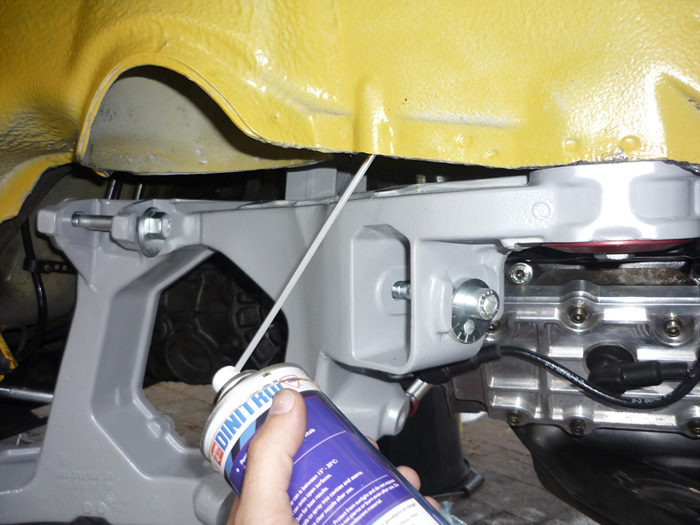
Coating of Dinitol 3125 cavity wax
back in place in the NSF arch.
Side tin trays sealed with FK1000p.
And fitted back on. I gave those pesky cap heads a coating of optimoly. I do not want them seizing again in the crankcase.
offside engine tray back in, clutch vent pipe back in, muffler support bracket back in
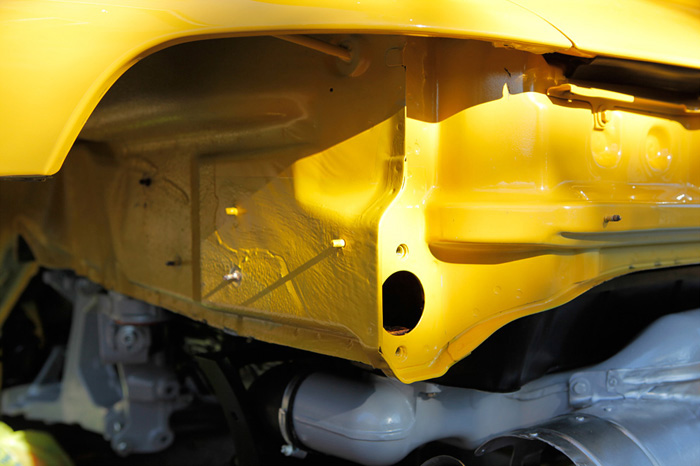
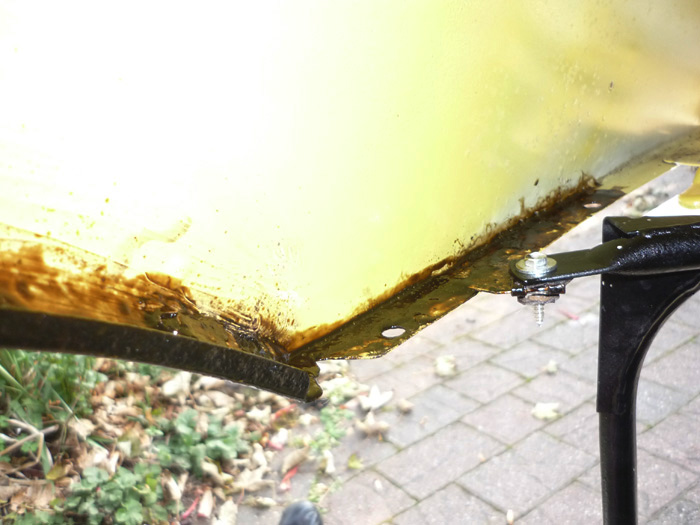
OSR arch cleaned with tar remover then sealed with FK1000p.
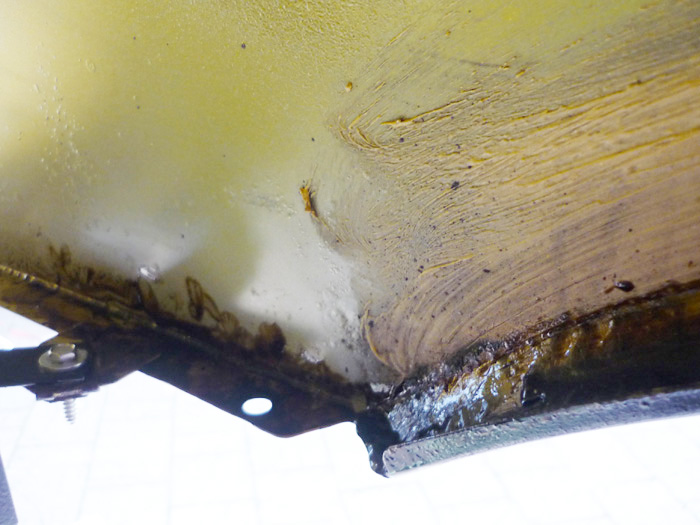
Inside of the rear arch cleaned then all the tar removed then sealed with FK1000p.
Same goes for the inside of the strut towers. It was REALLY mucky in here ... thick layers of grime.
And the underside of the chassis legs ... also coated in thick mud.
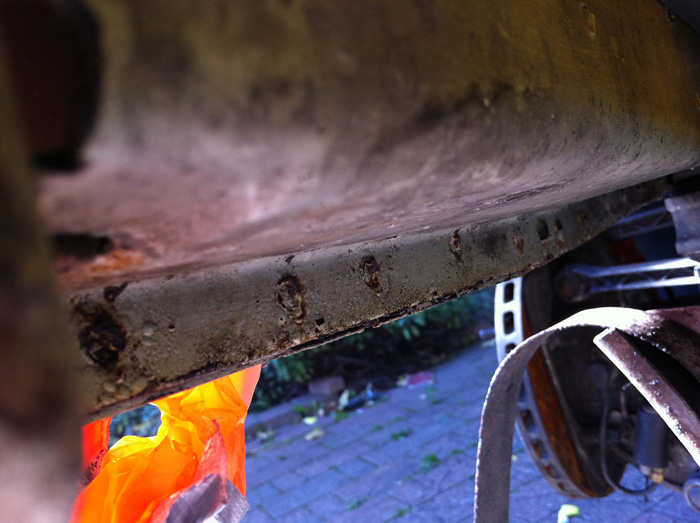
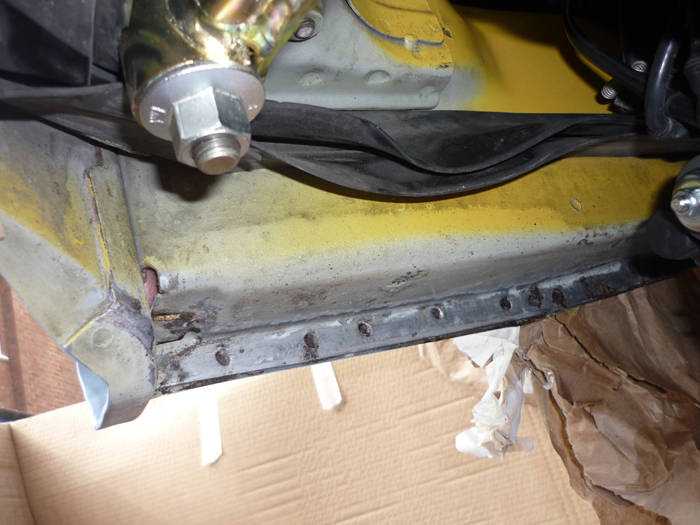
As for the nearside chassis leg, iI found it had some rust on the inside of the vertical seam. The second pic shows it sanded, washed and then prepped with surface ready, now ready for a coat of POR15.
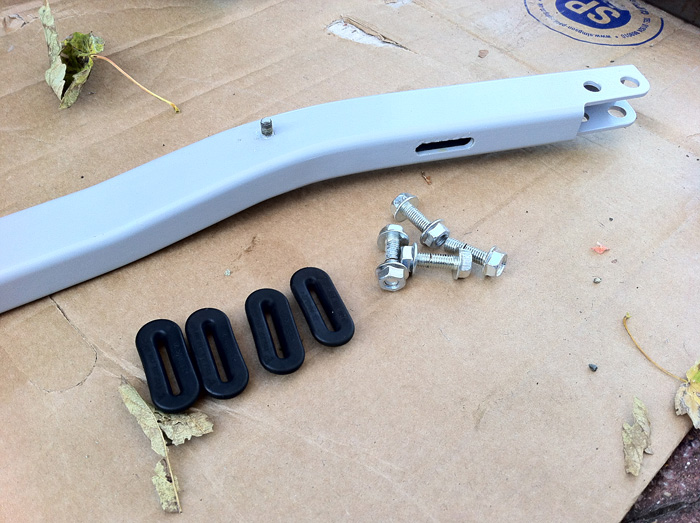
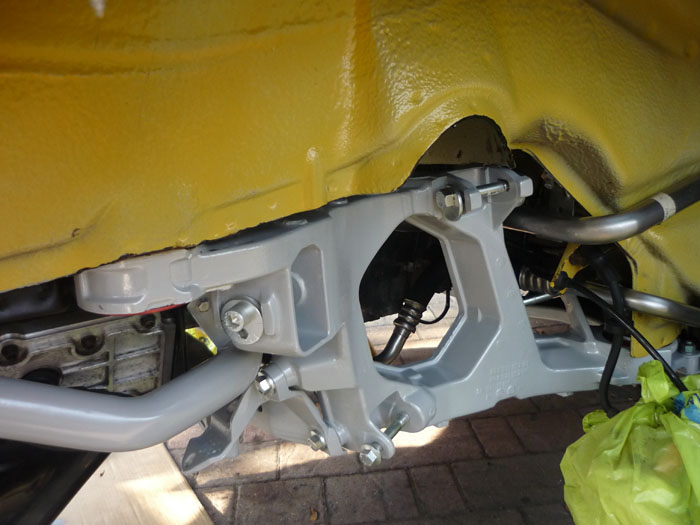
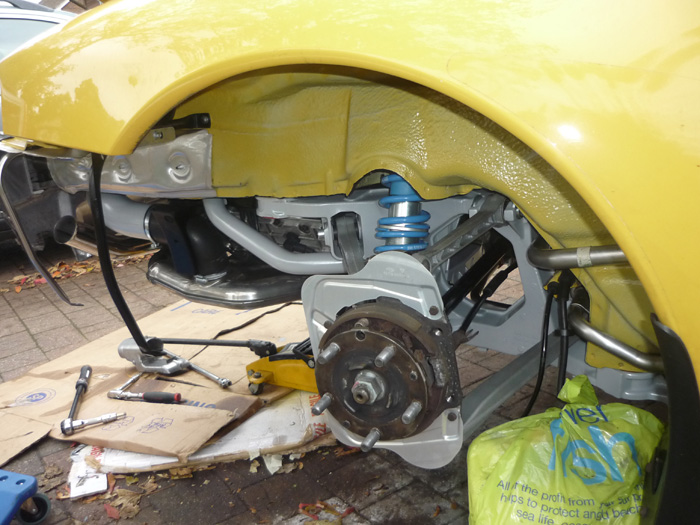
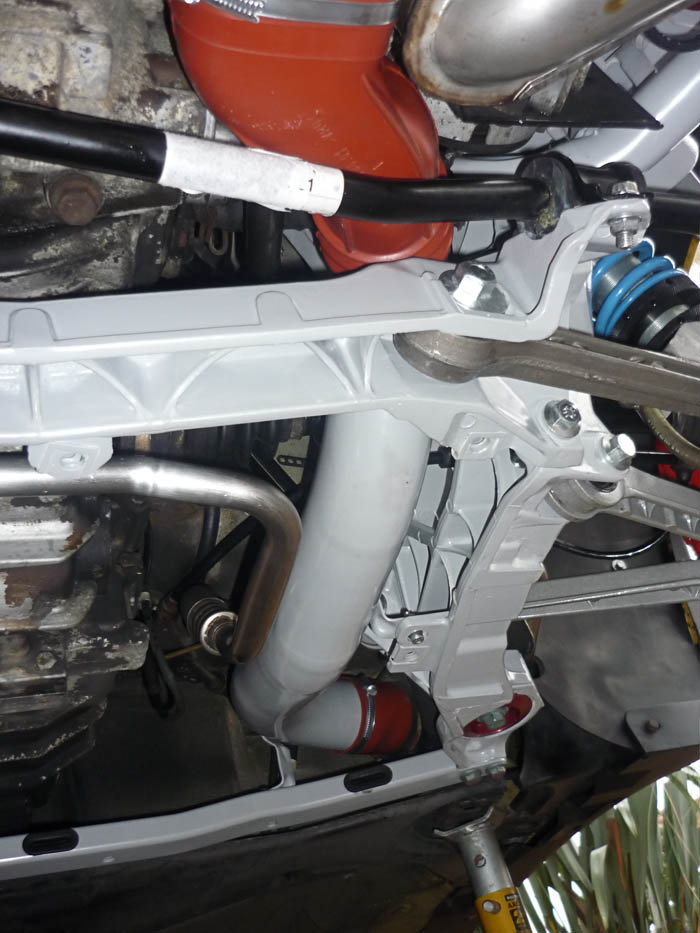
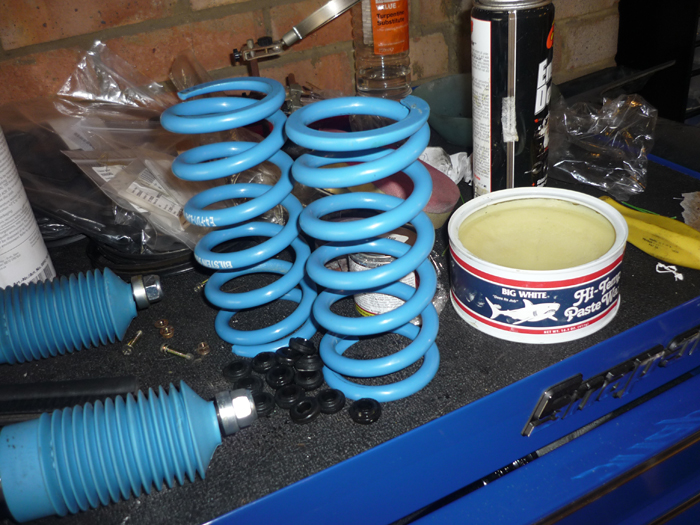
Back to suspension components
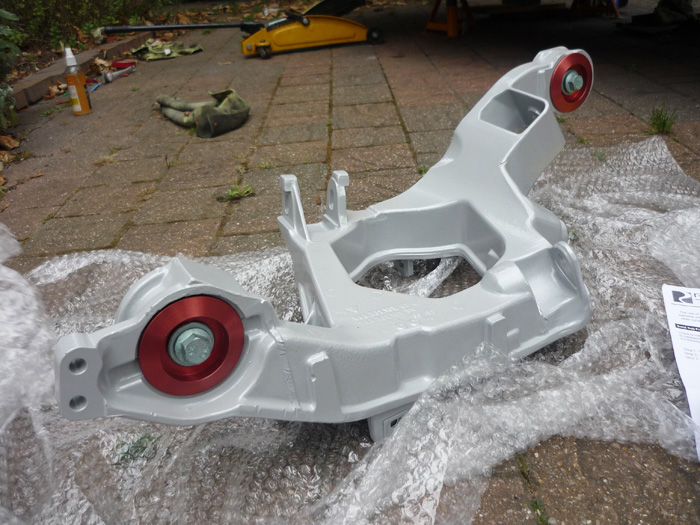
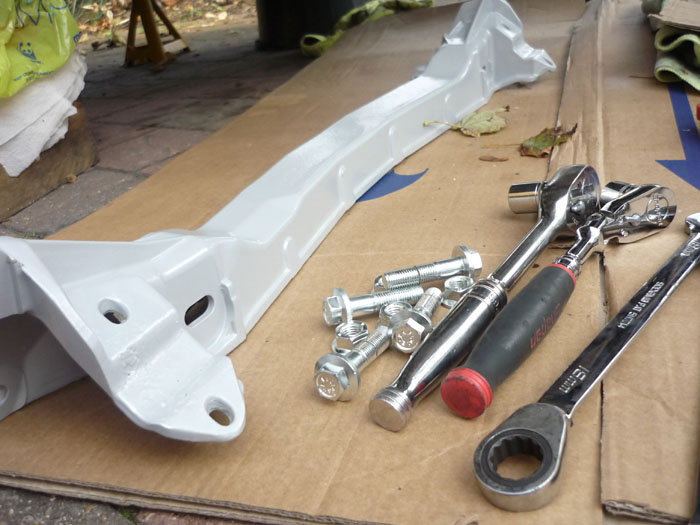
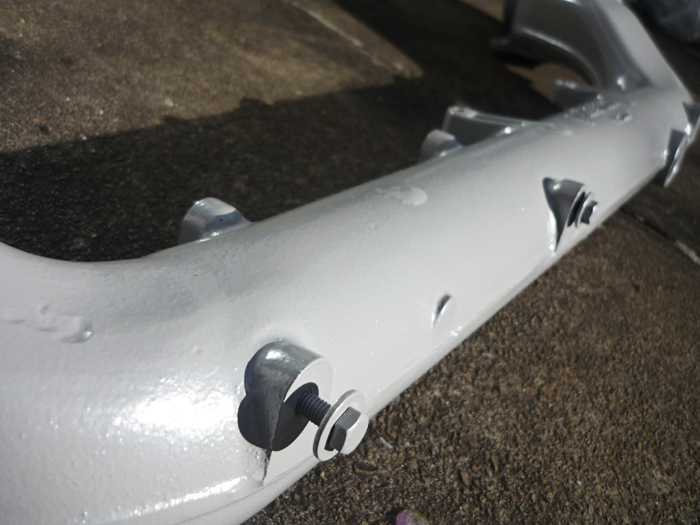
The rear side sections with new Rennline solid bushes. Freshly poweder coated.
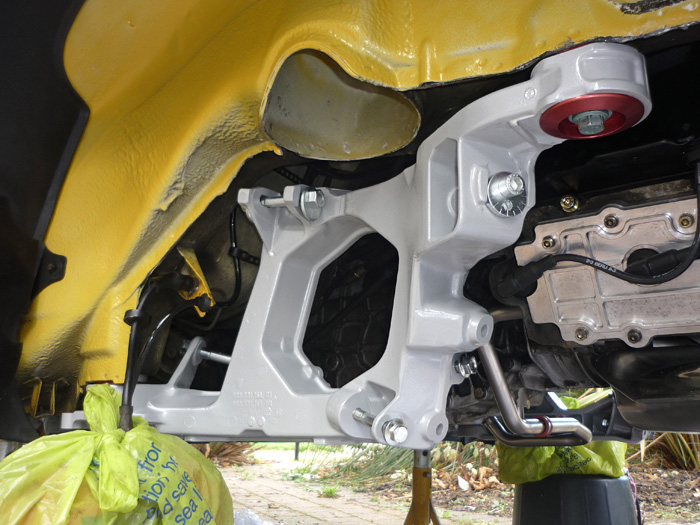
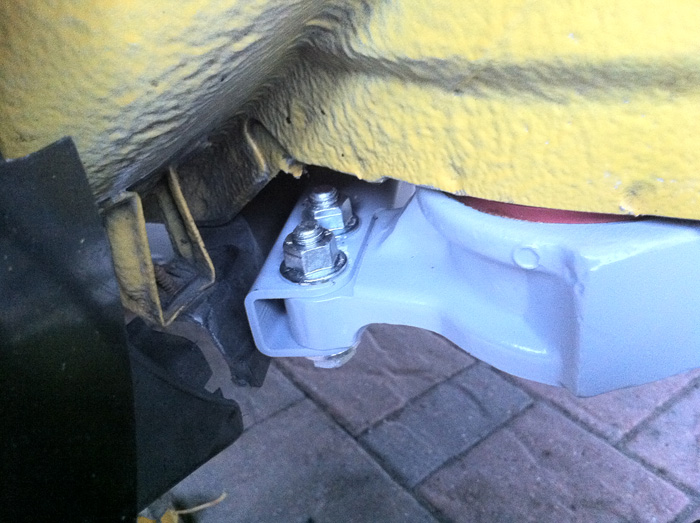
And installed with plated suspension bolts.
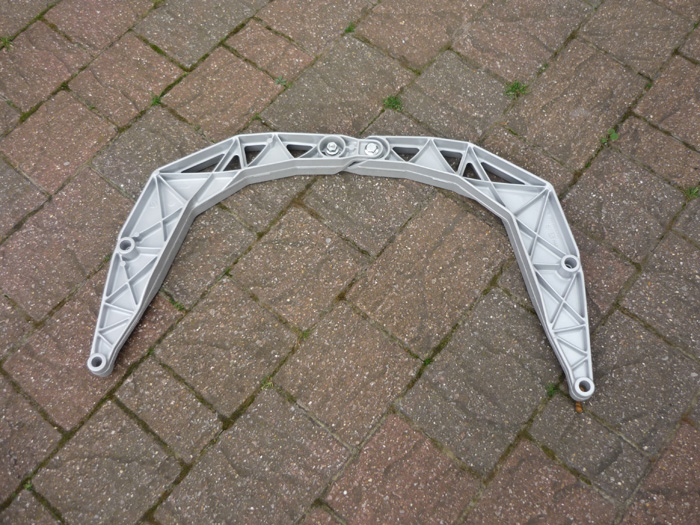
Crossmember.
front lower cross member ...... plated screws and cleaned rubber undertray guides
torque to 65nm
rearmost crossmember
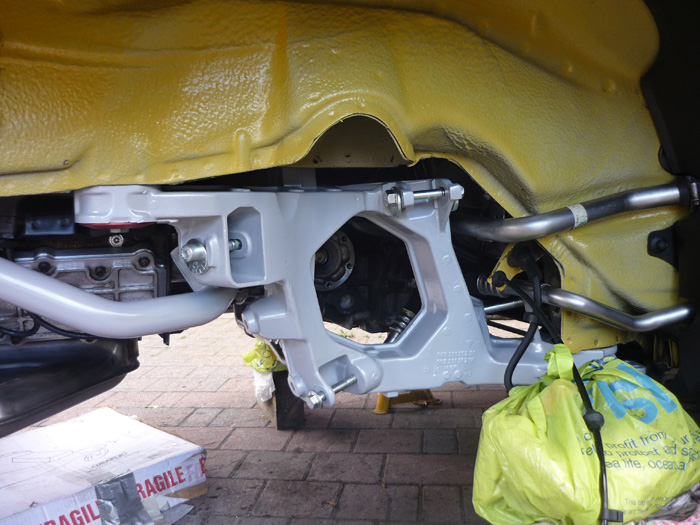
Cross members on
Horizontal heater tube fitted.
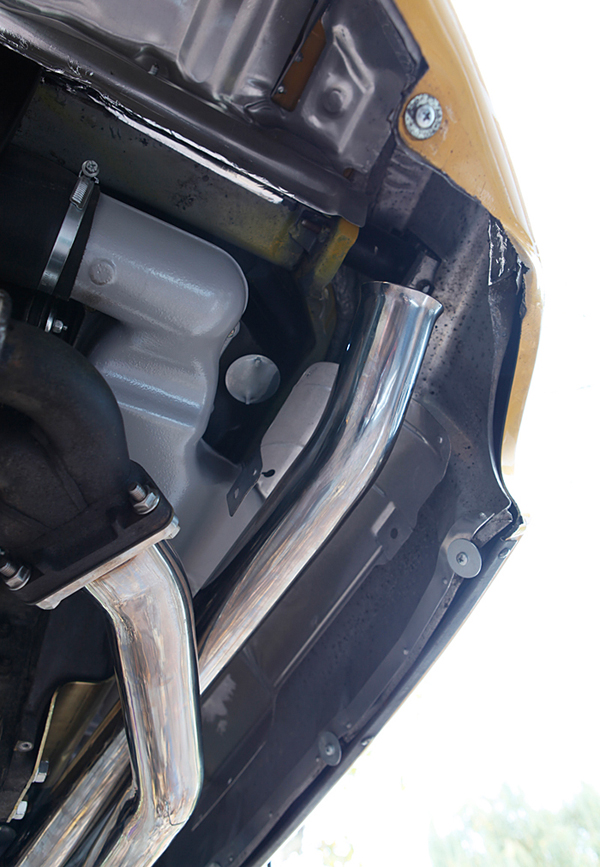
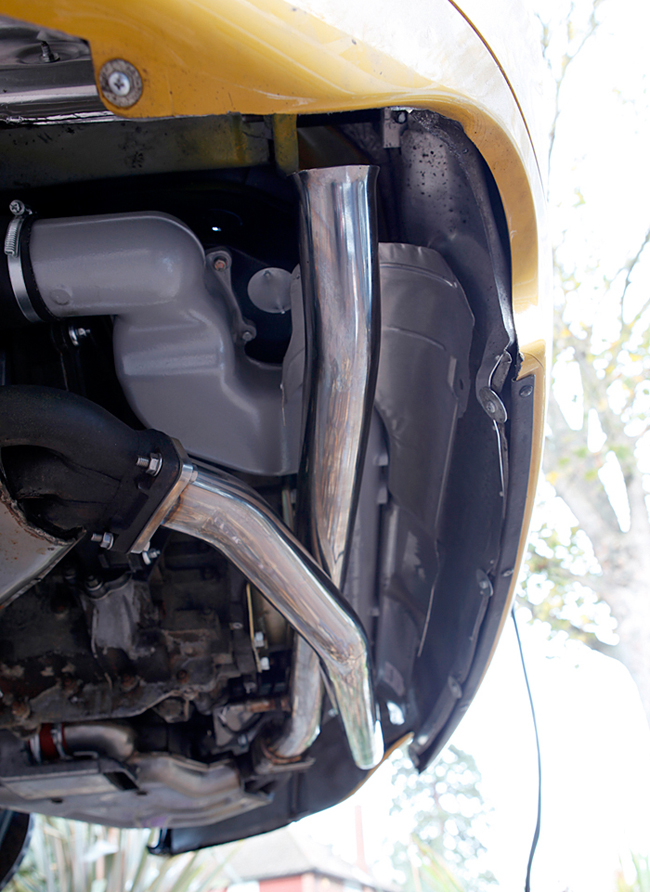
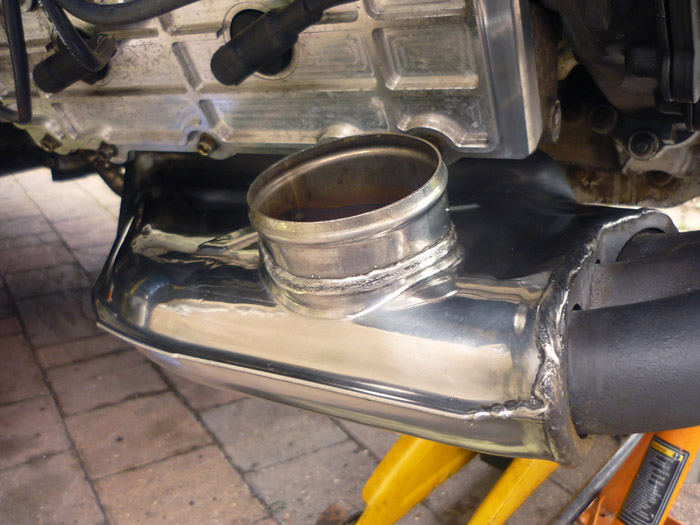
Brand new catalyst heatshield. Luckily it fits quite snug over the cat bypass pipes.
The rear chassis corrosion is now cleared up. 2 layers of POR15, 3 layers of speed yellow and a couple of layers of lacquer. read about this work here.
Side supports also refurbed.
Dinitrol rust prevention wax into the chassis legs.
Side supports and impact absorbers fitted. A layer of Dinitrol behind the impact absorbers.
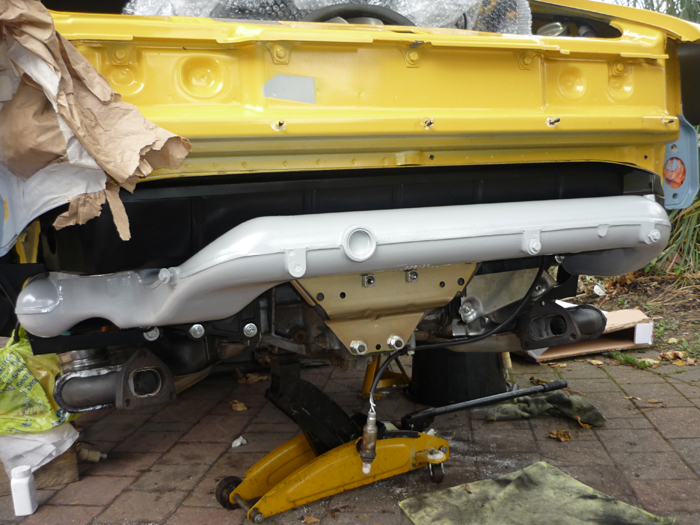
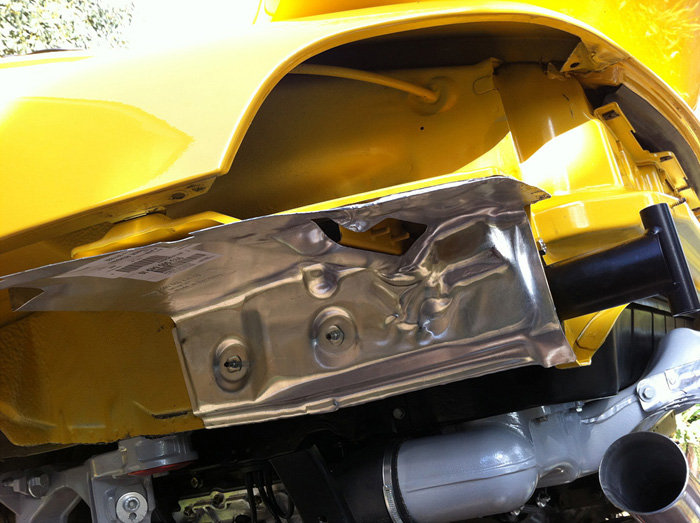
New heatshields.
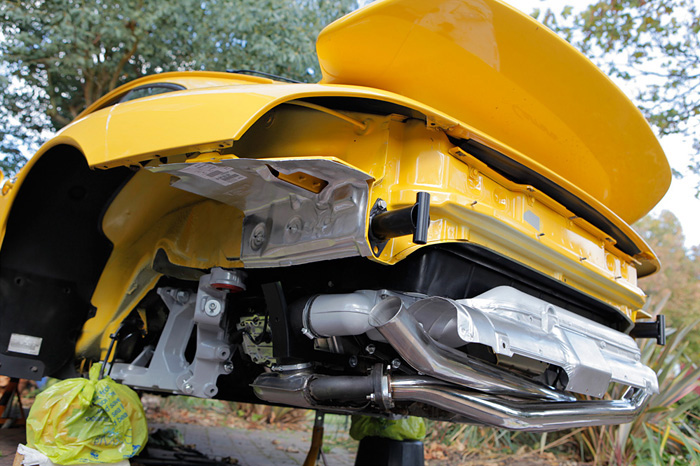
Getting there ....
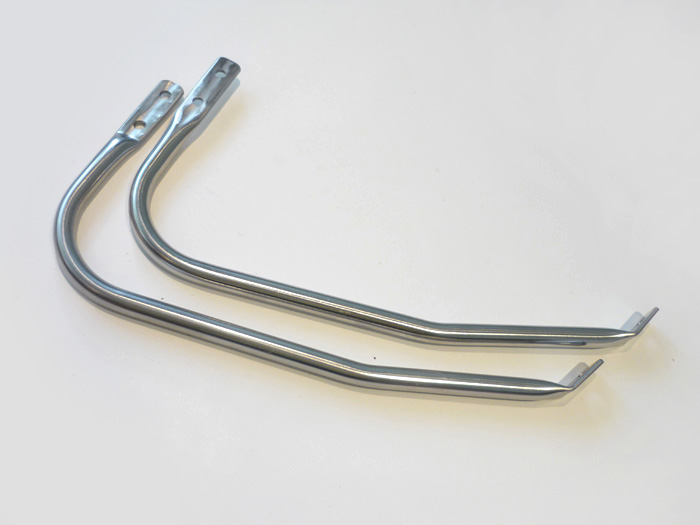
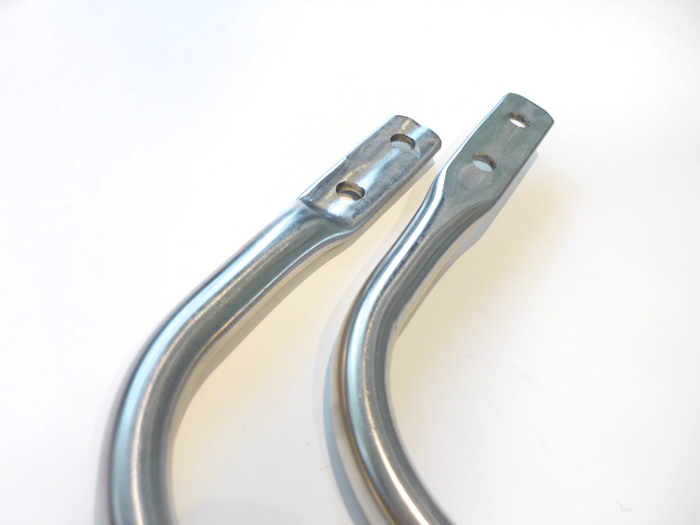
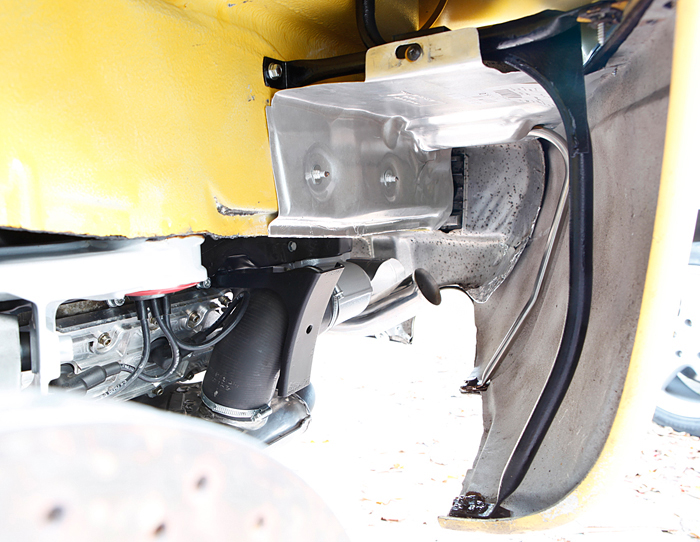
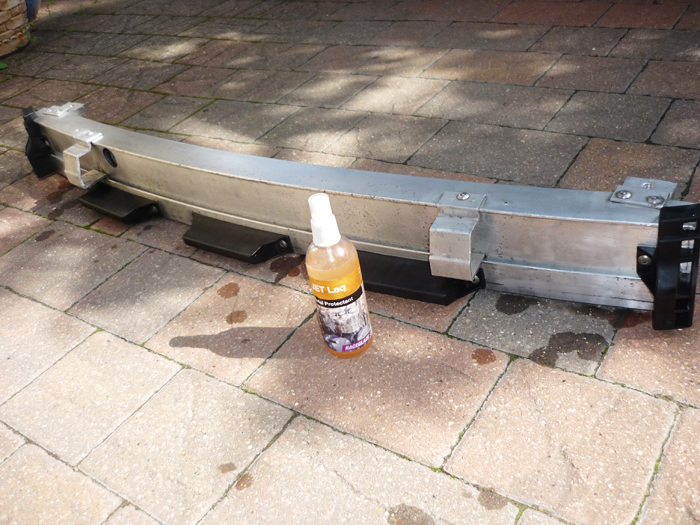
Stainless rear bumper supports.
And fully refurbed forward rear bumper supports also coated in Dinitrol.
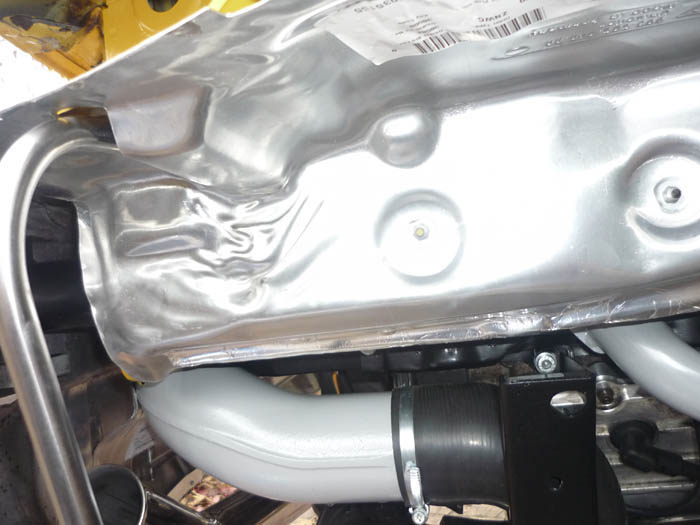
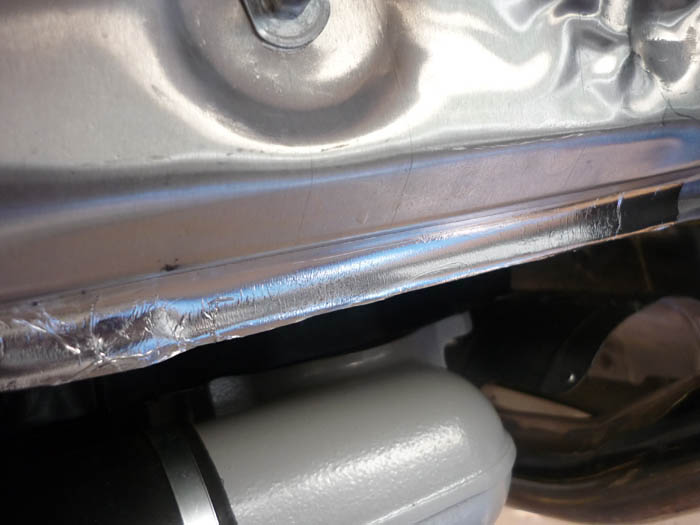
Fitted.
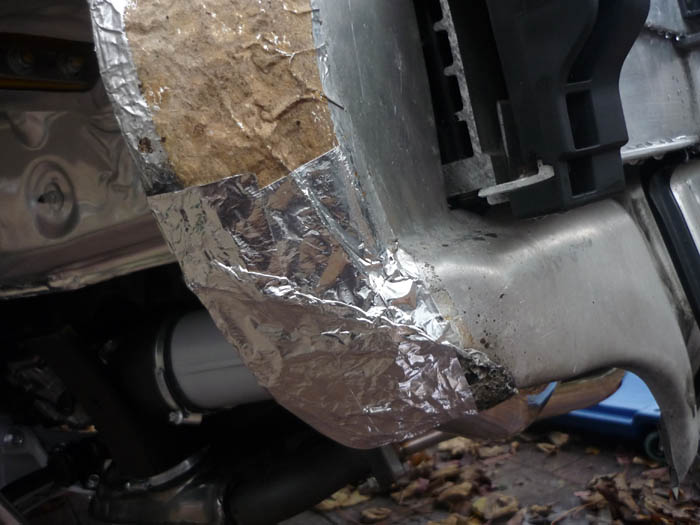
Metal tape applied on the heatshield edge then wrapped under and up to the inside of the chassis leg so that a seal is formed and mud and dirt can't get in between these two. Time will tell how well this holds out.
Dinitrol applied to vunerable areas and any rust spots that have been treated with a chemical rust remover.
Ditto
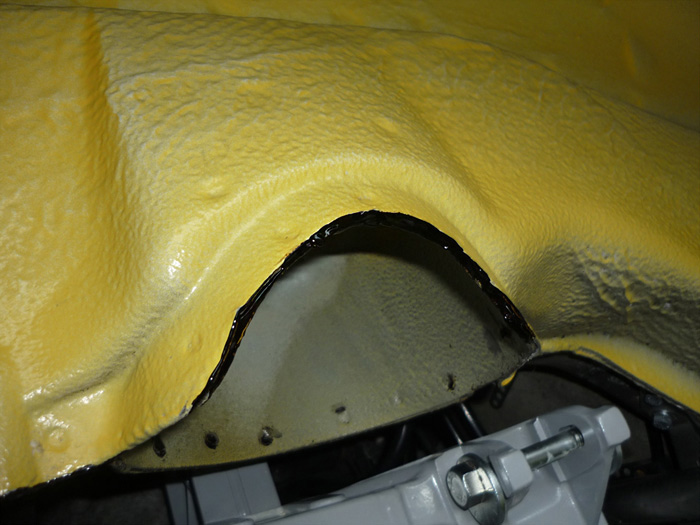
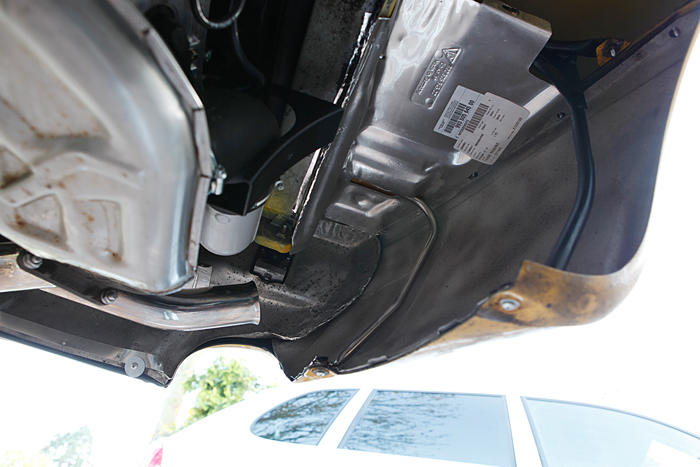
Protection inside of the rear wings.
Dinitrol fired up into cavities and seams.
And a bead of dinitrol along the suspeension turret pinch seam.
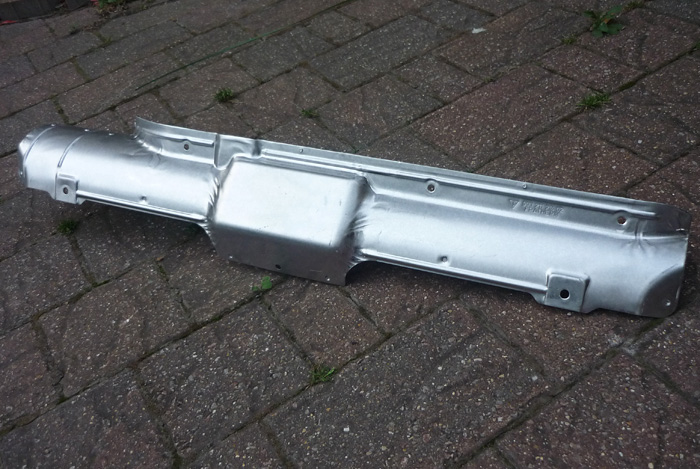
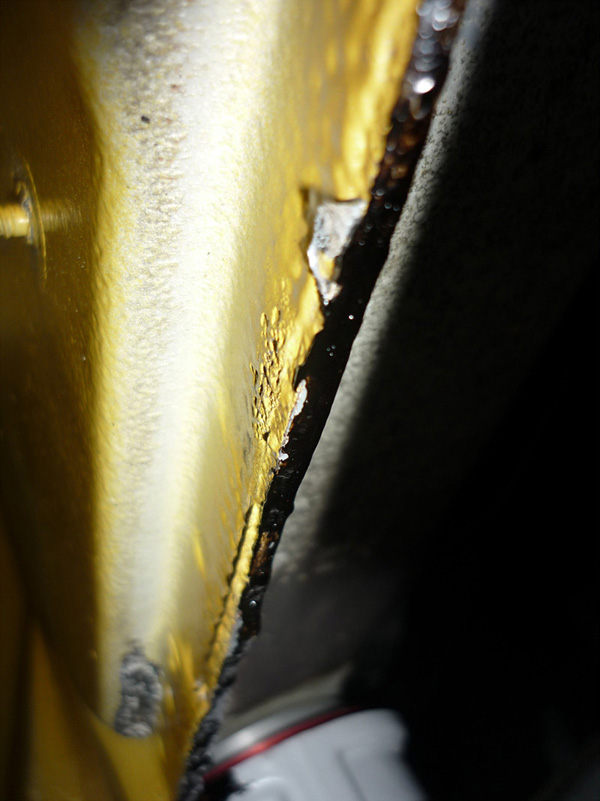
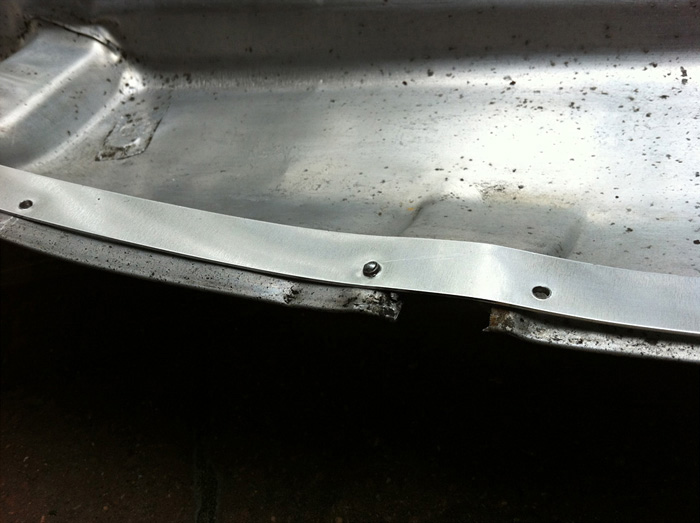
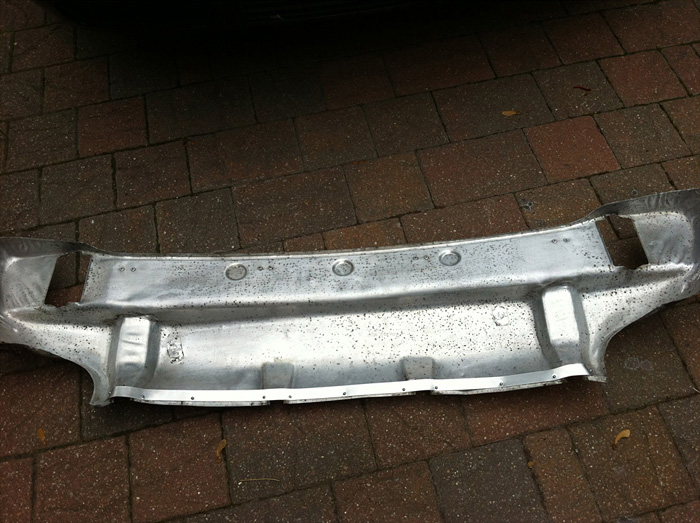
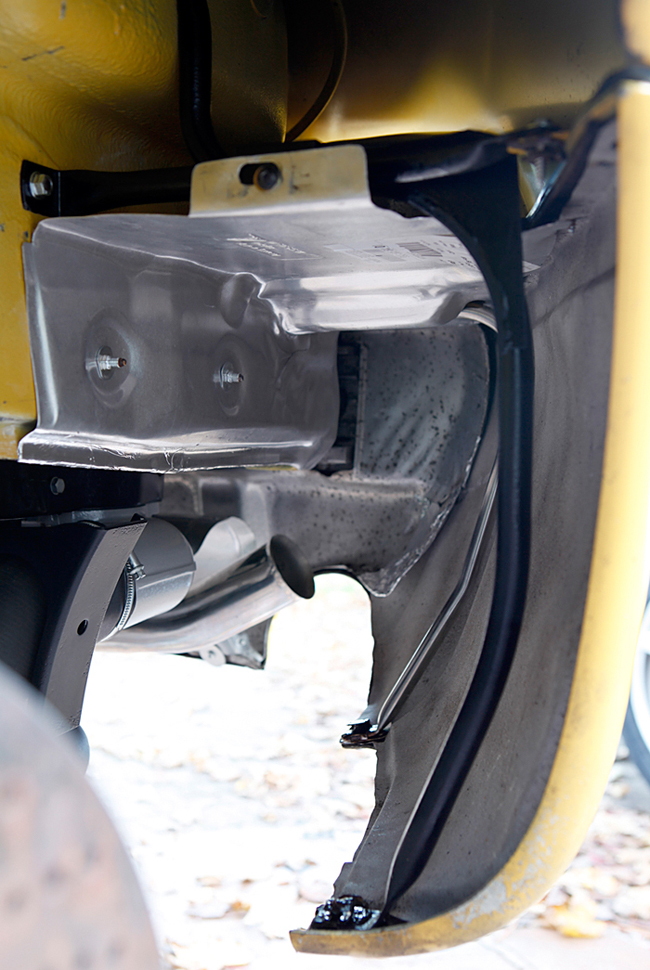
Now onto fixing that large heatshield. You can see that corrosion has got to the parts that are supposed to affix it to the rear pu. A common fix for this is metal tape but I decided to fix this with sheet ali. I don't want this flapping about whilst I am driving but I certainly don't want to replace with a new one as the price is extortionate.
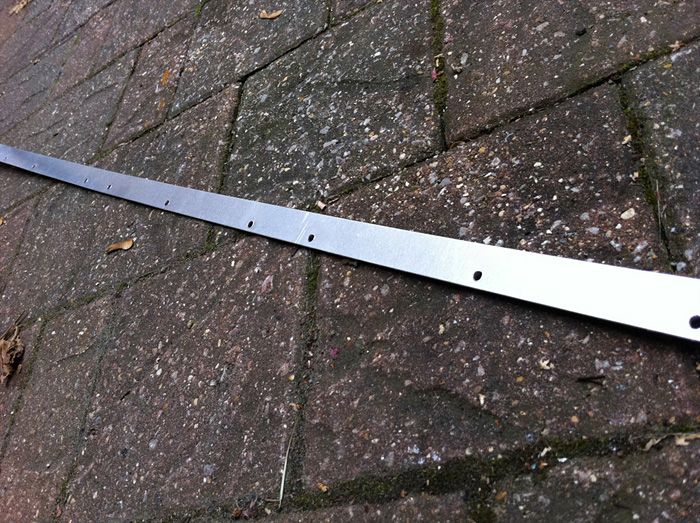
Strips of 1mm thick aluminium.
Holes drilled.
Pressed and formed over the big rear PU heatshield.
Riveted.
Voila, one heatshield that can now be properly fastened onto the PU.
Main rear heatshield tidied up with metal tape.
Back to the rear area. Dinitol applied on the faces of the bumper which will mate with the impact absorbers.
Tightened up.
Some dinitrol applied to the lower portion of these brackets where they engage with the rear PU. There was a LOT of corrosion on them when they came off.
to be continued soon .....
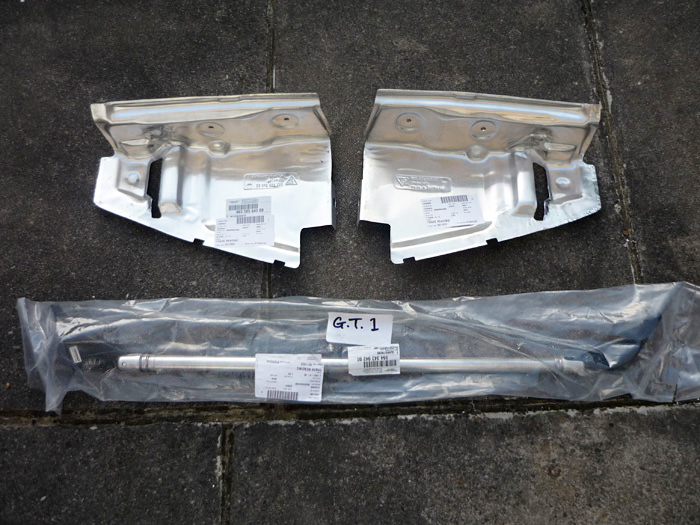
fitted with new protective cover plates
heater tubes and hoses
fitted
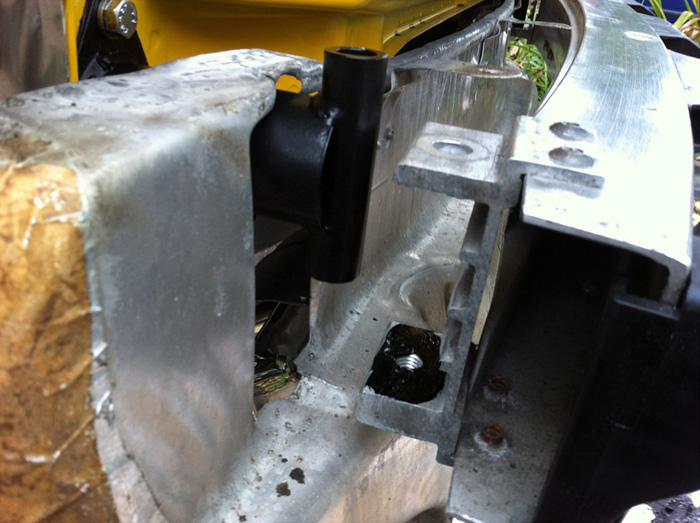
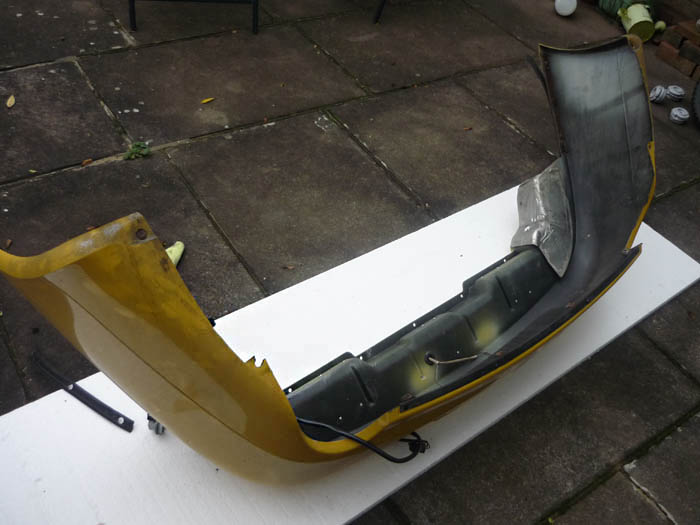
Bumper eyelet repair
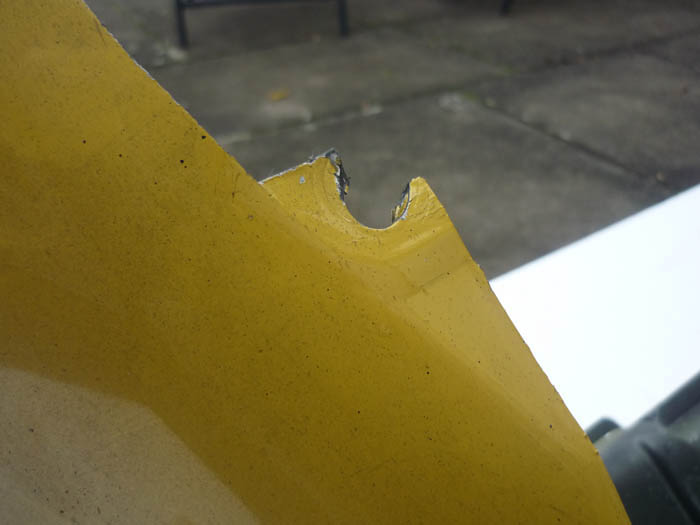
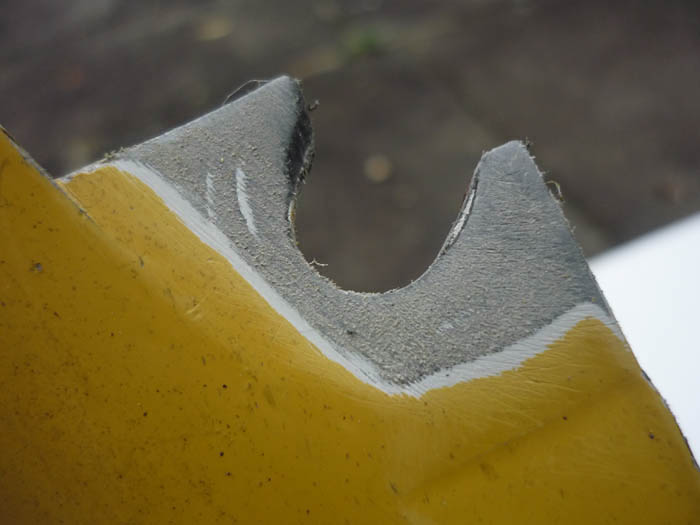
Here you can see the broken eyelet. The lower end of the rear bumper support is supposed to screw in here.
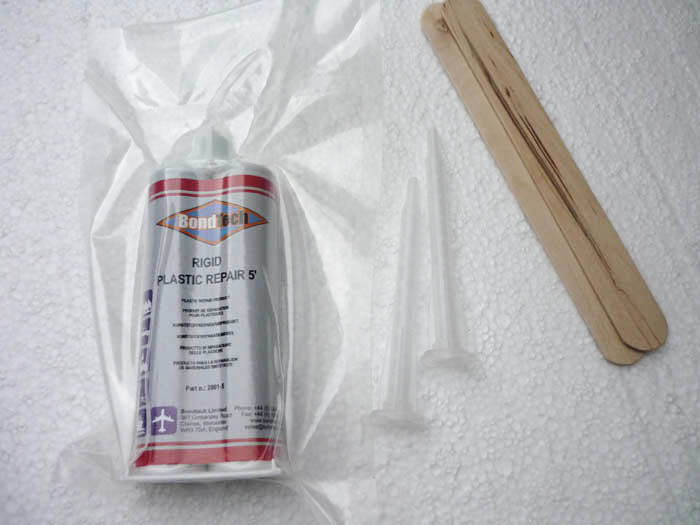
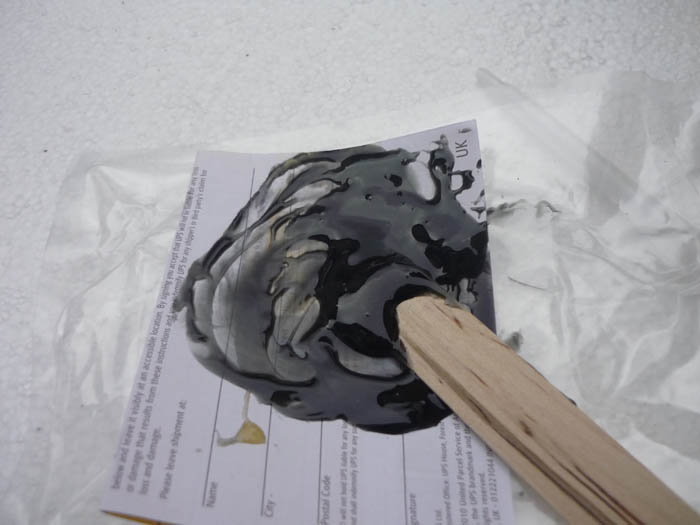
BONDTECH plastic repair expoxy. Available from ebay.
Mix some up.
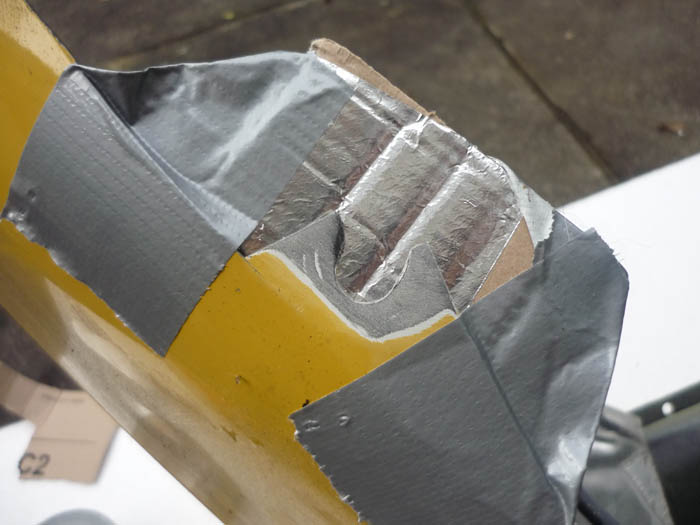
Prep the eyelet surfaces.
Fit some backing support (metal tape on a piece of cardboard in my case)
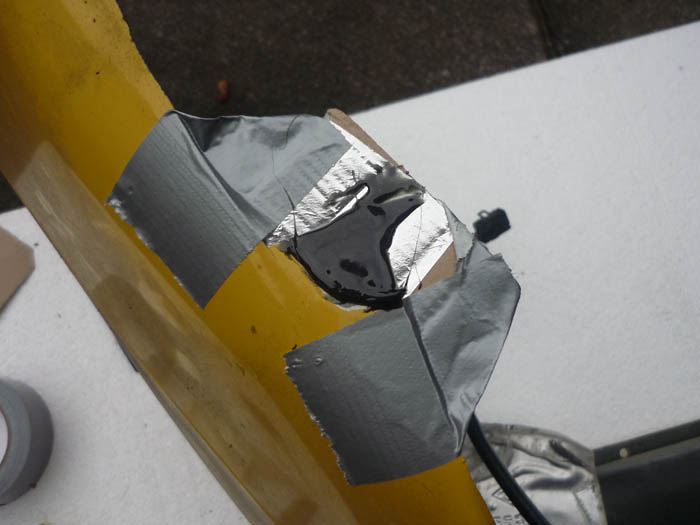
Build the epoxy up and allow to dry.
and now the reassembly of the rear heatshields and rear PU
notice the generous use of dinitrol on all those lower bumper support fixings
|
.JPG)
.JPG)


.jpg)
.jpg)
.jpg)
.jpg)
.jpg)
.jpg)
.jpg)